Java知识点总结:想看的可以从这里进入
目录
3.2、IService接口
BaseMapper 是用在Mapper中,而IService是在Service层使用的封装接口,它进一步封装 CRUD 。为了和BaseMapper 中方法进行区分,它采用了不同的前缀:
- get 查询单行
- remove 删除
- list 查询集合
- page 分页
- save新增
- update修改
IService还有一个实现的类ServiceImpl,在使用使用时分别对应service接口和impl实现类。
public interface UserService extends IService<User> {
    }
@Service public class UserServiceImpl extends ServiceImpl<UserMapper, User> implements UserService {
} 3.2.1、新增

-
新增一条记录
@Resource private UserService userService; @Test public void testServcie(){
      User user = new User(); user.setUsername("service增加"); user.setPassword("12321"); boolean save = userService.save(user); System.out.println("是否成功:"+save); }
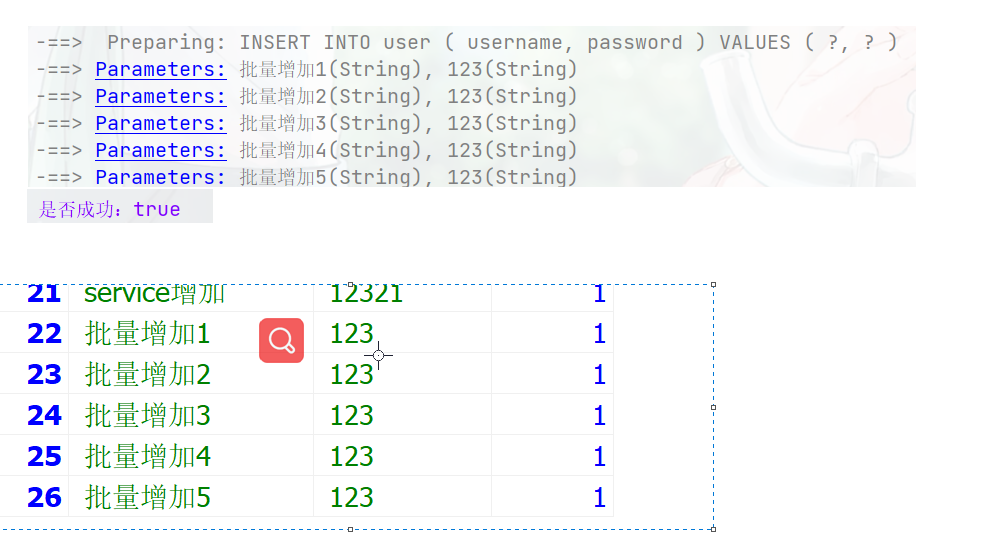
批量操作
@Resource private UserService userService; @Test public void testServcie(){
      List<User> users = new ArrayList<>(); User user1 = new User("批量增加1","123"); users.add(user1); User user2 = new User("批量增加2","123"); users.add(user2); User user3 = new User("批量增加3","123"); users.add(user3); User user4 = new User("批量增加4","123"); users.add(user4); User user5 = new User("批量增加5","123"); users.add(user5); boolean save = userService.saveBatch(users); System.out.println("是否成功:"+save); }
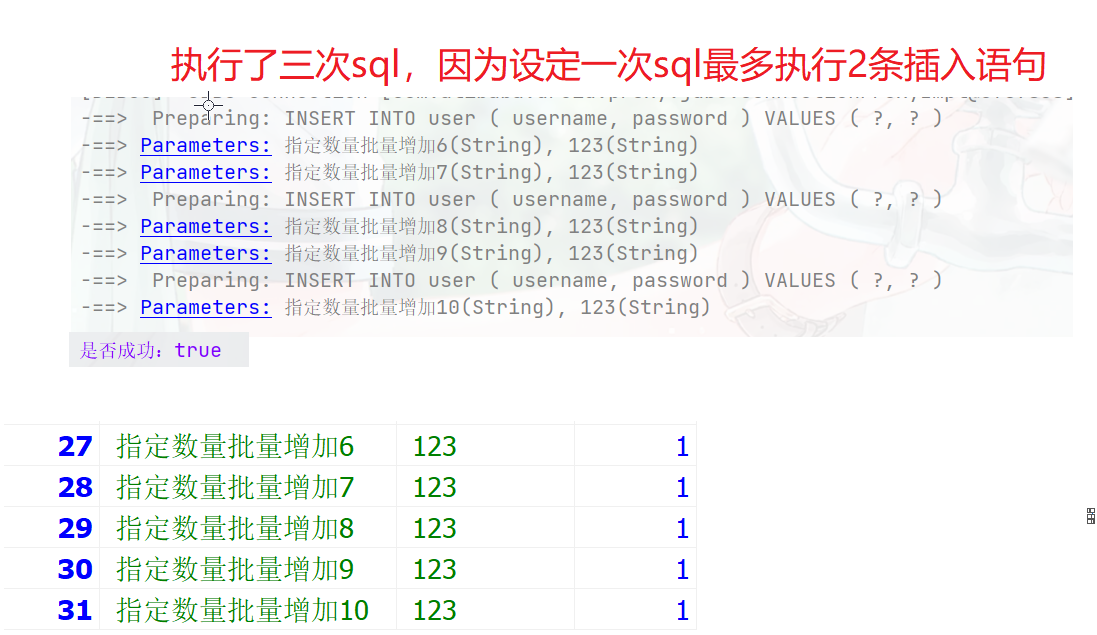
设置批次数量
public void testServcie(){
      List<User> users = new ArrayList<>(); User user1 = new User("指定数量批量增加6","123"); users.add(user1); User user2 = new User("指定数量批量增加7","123"); users.add(user2); User user3 = new User("指定数量批量增加8","123"); users.add(user3); User user4 = new User("指定数量批量增加9","123"); users.add(user4); User user5 = new User("指定数量批量增加10","123"); users.add(user5); boolean save = userService.saveBatch(users,2); System.out.println("是否成功:"+save); }
3.2.2、查询
1、单行查询
-
根据id查询
@Test public void testServcie(){
      User user = userService.getById(1); System.out.println(user); }
2、多行查询
-
根据ID批量查询
@Test public void testServcie(){ List<Integer> list = Arrays.asList(1, 2, 3); List<User> users = userService.listByIds(list); users.forEach(System.out::println); } -
查询所有
@Test public void testServcie(){
      //返回list List<User> list = userService.list(); System.out.println(list); //返回map List<Map<String, Object>> maps = userService.listMaps(); System.out.println(maps); List<Object> objects = userService.listObjs(); System.out.println(objects); }
3.2.3、删除
-
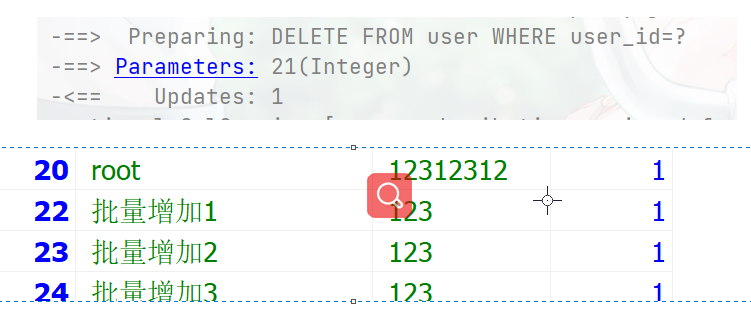
根据id删除
@Test public void testServcie(){
      boolean b = userService.removeById(21); }
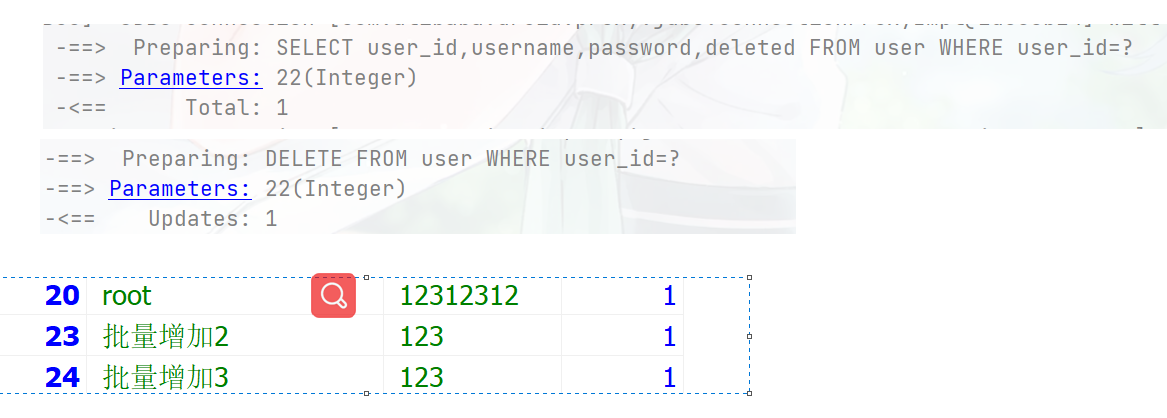
根据实体的id删除
@Test public void testServcie(){
      User user = userService.getById(22); boolean b = userService.removeById(user); }
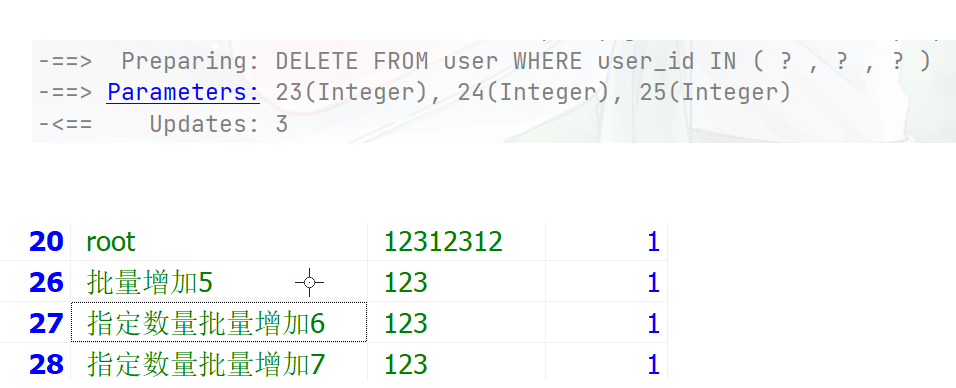
批量删除
@Test public void testServcie(){
      List<Integer> list = Arrays.asList(23, 24, 25); boolean b = userService.removeByIds(list); }
根据Map条件删除
@Test public void testServcie(){
      Map<String ,Object> map = new HashMap<>(); map.put("username","批量增加5"); map.put("password","123"); boolean b = userService.removeByMap(map); }
3.2.4、修改
-
根据ID修改
@Test public void testServcie(){
      User user = userService.getById(27); user.setUsername("修改1"); user.setPassword(""); boolean b = userService.updateById(user); }
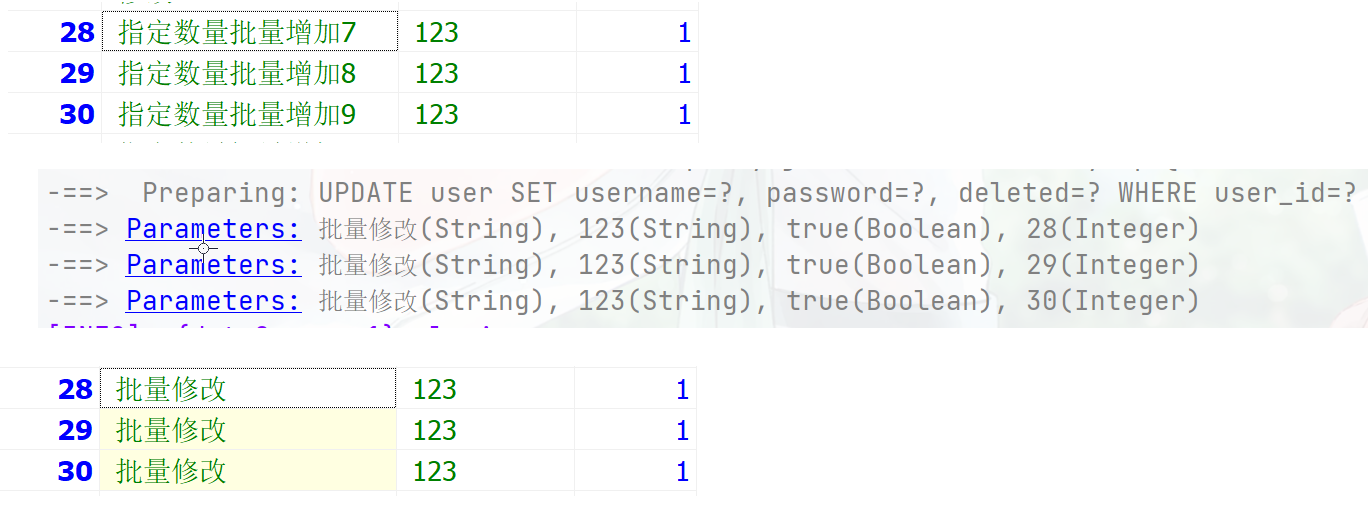
批量修改
@Test public void testServcie(){
      List<Integer> list = Arrays.asList(28, 29, 30); List<User> users = userService.listByIds(list); users.forEach(user -> {
      user.setUsername("批量修改"); }); boolean b = userService.updateBatchById(users); }
3.2.5、修改或更新
3.2.6、分页

在Mybatis-plus中提供了有关分页的接口和实现类 IPage 和 Page
public class Page<T> implements IPage<T> {
    private static final long serialVersionUID = L; //用来存放查询出来的数据 protected List<T> records = Collections.emptyList(); //返回的数据总数 protected long total = 0; // 每页显示条数,默认 10 protected long size = 10; //当前页,默认1 protected long current = 1; // 排序字段信息 @Setter protected List<OrderItem> orders = new ArrayList<>(); //自动优化 COUNT SQL protected boolean optimizeCountSql = true; // 是否进行 count 查询 protected boolean searchCount = true; public Page() {
    } /** * 有参构造函数 * @param current 当前页 * @param size 每页显示条数 */ public Page(long current, long size) {
    this(current, size, 0); } public Page(long current, long size, long total) {
    this(current, size, total, true); } public Page(long current, long size, boolean searchCount) {
    this(current, size, 0, searchCount); } public Page(long current, long size, long total, boolean searchCount) {
    if (current > 1) {
    this.current = current; } this.size = size; this.total = total; this.searchCount = searchCount; } //是否存在上一页 public boolean hasPrevious() {
    return this.current > 1; } //是否存在下一页 public boolean hasNext() {
return this.current < this.getPages(); } .......... } -
配置
-
使用Spring时,在Spring的配置文件中先配置mybatis-plus内置的分页插件
<!-- 配置mybatis-plus的分页拦截器--> <bean id="paginationInnerInterceptor" class="com.baomidou.mybatisplus.extension.plugins.inner.PaginationInnerInterceptor"/> <!-- 配置mybatis-plus的分页拦截器插件 --> <bean id="mybatisPlusInterceptor" class="com.baomidou.mybatisplus.extension.plugins.MybatisPlusInterceptor"> <property name="interceptors" > <list> <ref bean="paginationInnerInterceptor"/> </list> </property> </bean> <!-- 将插件加入到MybatisSqlSessionFactoryBean 中--> <bean class="com.baomidou.mybatisplus.extension.spring.MybatisSqlSessionFactoryBean"> <!--加载连接池--> <property name="dataSource" ref="dataSource"/> <!-- 设置MyBatis配置文件的路径(可以不设置) --> <property name="configLocation" value="classpath:mybatis-config.xml"/> <!--加载映射文件路径--> <property name="mapperLocations" value="classpath:mapping/*.xml"/> <!--分页插件生效 --> <property name="plugins"> <array> <ref bean="mybatisPlusInterceptor"/> </array> </property> </bean> -
使用SpringBoot时配置时,在配置类中配置
@Bean public MybatisPlusInterceptor mybatisPlusInterceptor() {
        MybatisPlusInterceptor interceptor = new MybatisPlusInterceptor(); interceptor.addInnerInterceptor(new PaginationInnerInterceptor(DbType.MYSQL)); return interceptor; }
-
-
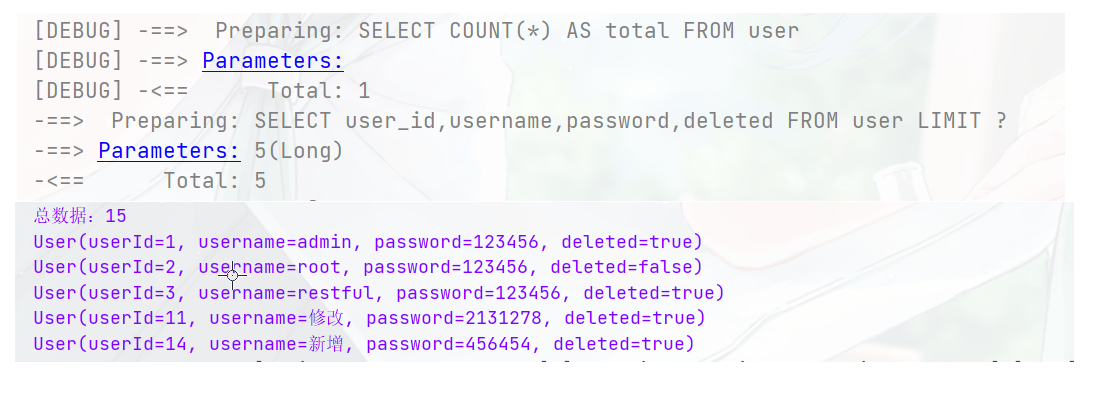
分页查询数据
@Test public void testServcie(){
      Page<User> page = userService.page(new Page<>(1,5)); System.out.println("总数据:"+page.getTotal()); List<User> users = page.getRecords(); users.forEach(System.out::println); }
3.2.7、查询记录数

@Test public void testServcie(){
    long count = userService.count(); System.out.println(count); }
今天的文章
service层接口怎么写_java中service层的作用分享到此就结束了,感谢您的阅读。
版权声明:本文内容由互联网用户自发贡献,该文观点仅代表作者本人。本站仅提供信息存储空间服务,不拥有所有权,不承担相关法律责任。如发现本站有涉嫌侵权/违法违规的内容, 请发送邮件至 举报,一经查实,本站将立刻删除。
如需转载请保留出处:https://bianchenghao.cn/80533.html


