前言
Android技能书系列:
Android基础知识
Android技能树 — Android存储路径及IO操作小结
数据结构基础知识
算法基础知识
先上脑图:
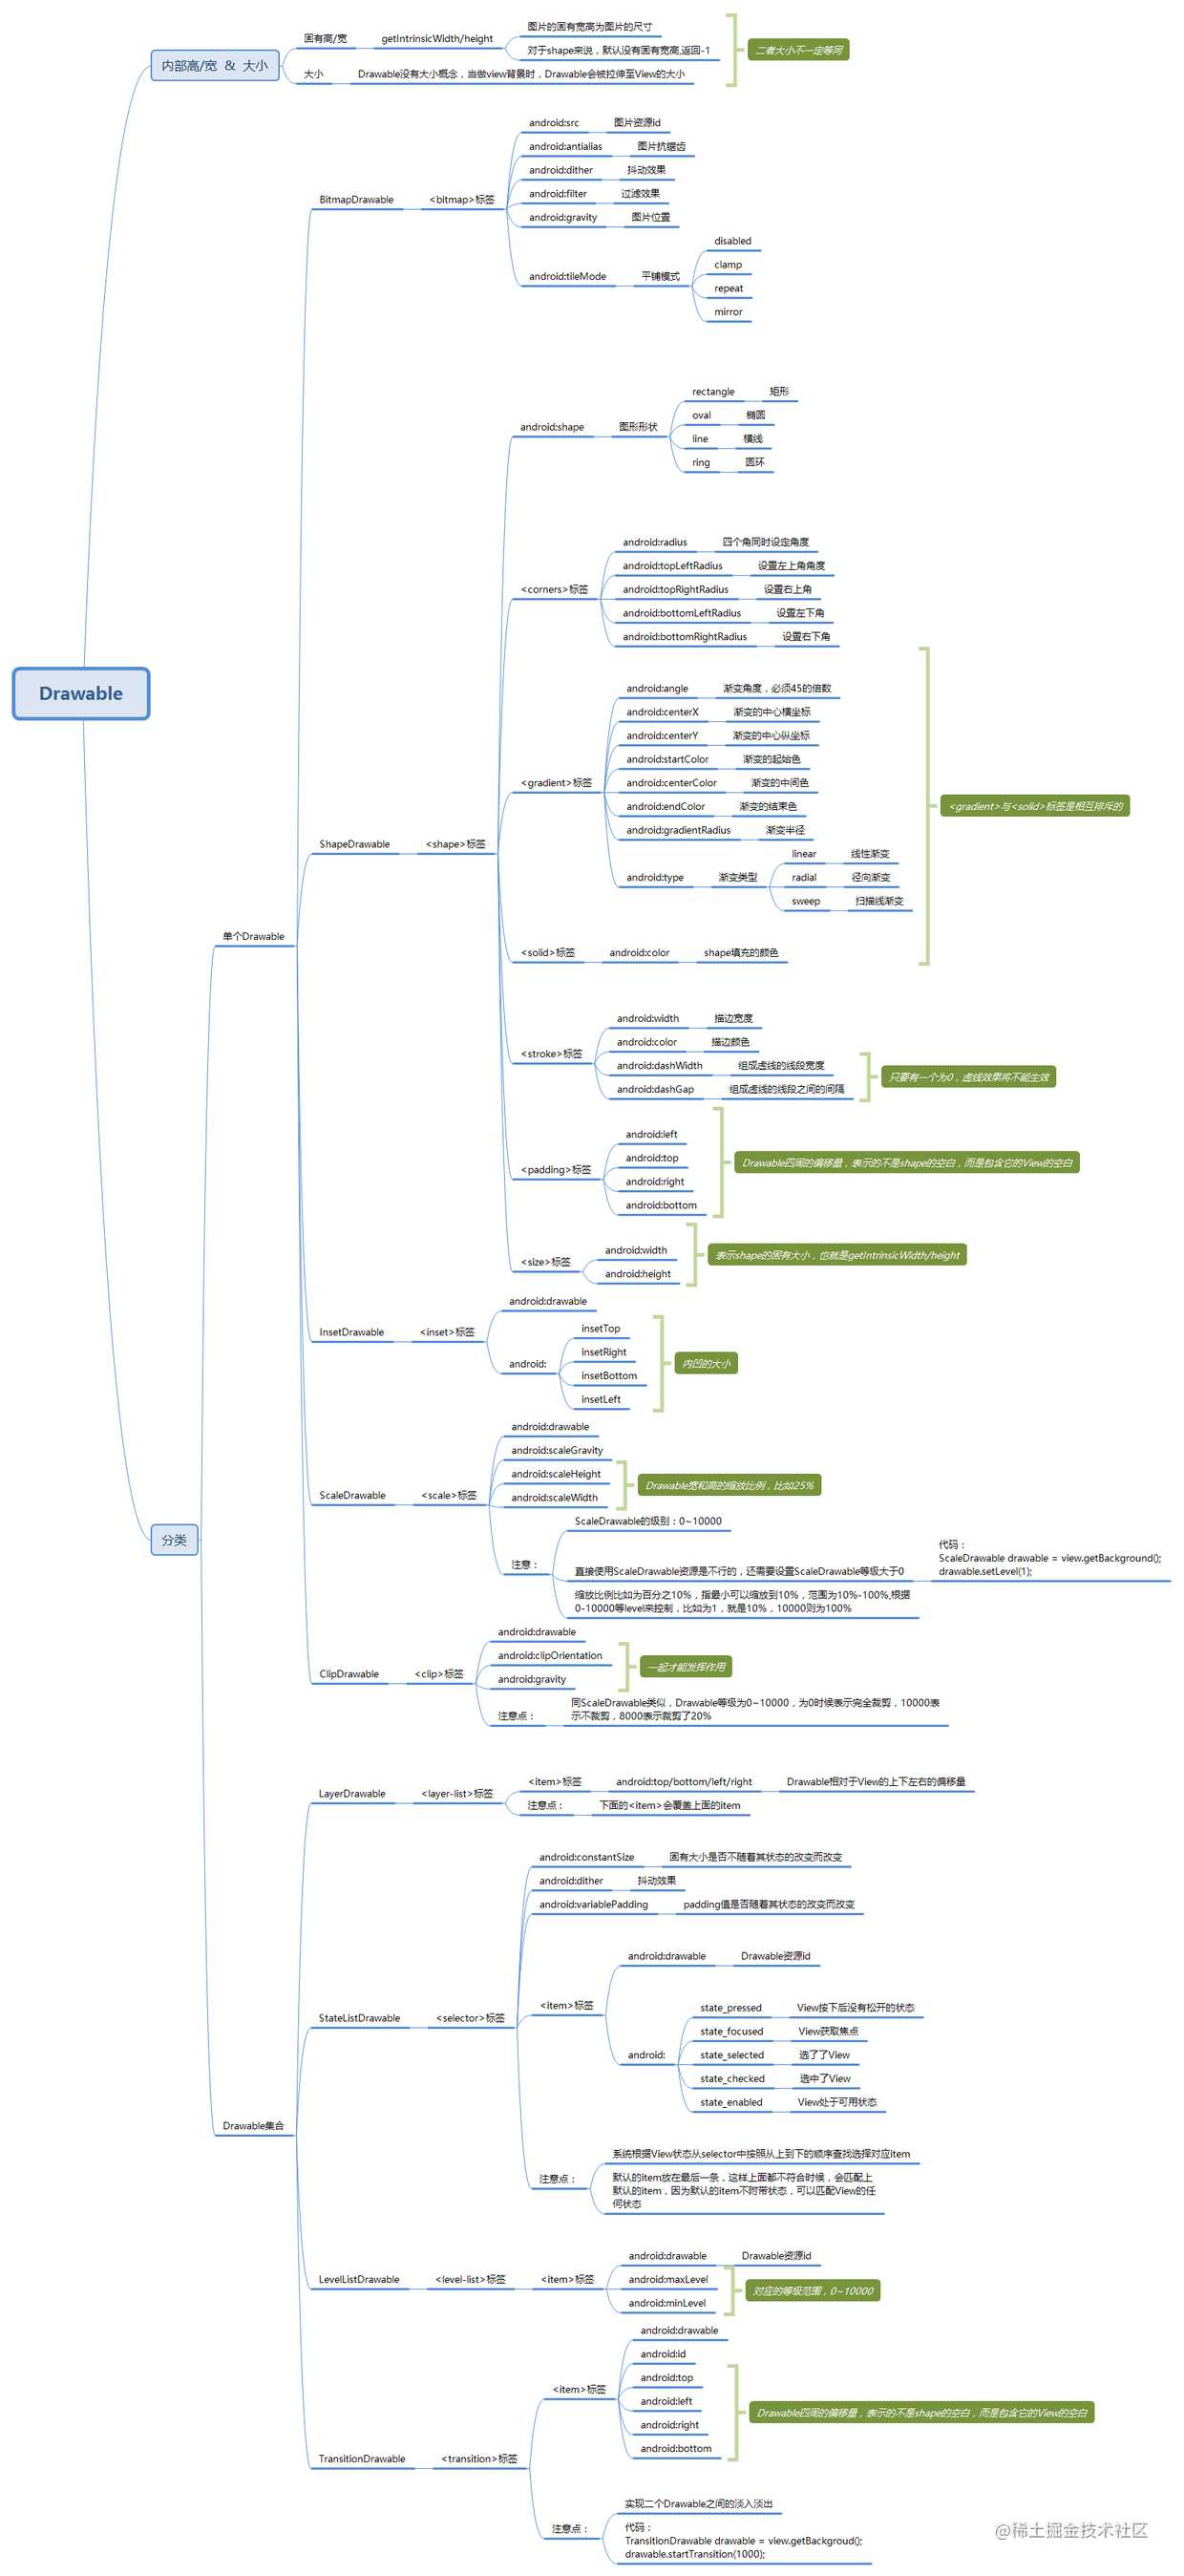
Drawable

固有高/宽 & 大小

我们知道平常使用最多的Drawable可能是图片了,我们知道一个图片的原本的尺寸,比如下面这个图:
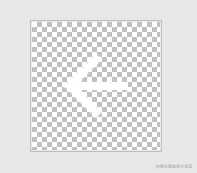

大小为64X64,我们把它赋值给一个ImageView做为背景,同时这个ImageView设置的宽高都很大:
 <ImageView
      android:layout_width="300dp"
      android:layout_height="300dp"
      android:background="@drawable/back"/>

我们可以看到我们的图片实际上变的很大,所以最终的图片大小不一定是它固有宽/高。
所以对于这个图片,它的固有高/宽是它原本图片的大小,而实际上当最为我们ImageView的背景后,被拉伸至于View同等大小了。而且对于一些我们自己画的Drawable,不像图片那样,有自己原本的尺寸,比如我们自己写了个一个红色的Drawable,这时候它没有固定的尺寸,所以getIntrinsicWidth/height会返回-1。

Drawable分类
单个Drawable
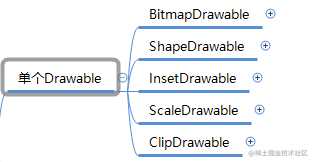
BitmapDrawable:
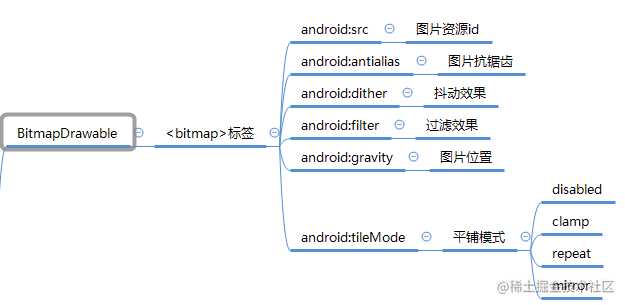
这里特别讲一下平铺模式,比如还是上面那个箭头的图片,我们写相应BitmapDrawable代码:
<?xml version="1.0" encoding="utf-8"?>
<bitmap xmlns:android="http://schemas.android.com/apk/res/android" android:src="@drawable/back" android:tileMode="repeat" >
</bitmap>
  <ImageView
        android:id="@+id/logo"
        android:layout_width="300dp"
        android:layout_height="300dp"
        android:background="@drawable/bitmapdrawable"/>

这里有一点要注意:记住是赋给android:background,有些人写习惯了,可能就赋给了ImageView的android:src属性, 然后就不会有效果了。
ShapeDrawable

我们主要注意这几点:
- 当我们对描边进行设置虚线时候,android:dashWidth和android:dashGap只要有一个为0,虚线效果将不能生效。 比如:
<?xml version="1.0" encoding="utf-8"?>
<shape xmlns:android="http://schemas.android.com/apk/res/android"
  android:shape="rectangle"
    >
    <stroke android:color="@color/colorBlack"
        android:width="2dp"
        android:dashGap="30dp"
        android:dashWidth="40dp"/>

</shape>
我们可以看到效果是:

但是只要一个为0,就会变成

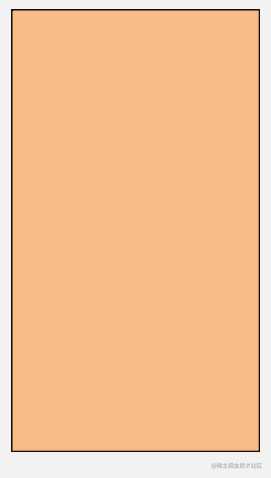
- 标签的设置: 定义内容离边界的距离,有些人说我设置了Padding,可是没有看出效果来,比如下面:
<?xml version="1.0" encoding="utf-8"?>
<shape xmlns:android="http://schemas.android.com/apk/res/android"
  android:shape="rectangle"
    >
    <stroke android:color="@color/colorBlack"
        android:width="2dp"
        android:dashGap="0dp"
        android:dashWidth="40dp"/>

    <padding android:left="130dp"
        />

    <solid android:color="@color/warning_stroke_color"/>

</shape>
<ImageView
        android:id="@+id/logo"
        android:layout_width="300dp"
        android:layout_height="300dp"
        android:background="@drawable/bg"/>

然后我们会发现,what啥都没变啊。其实我们要知道是内容离边界的距离。比如我们这里换成TextView就知道了:
<TextView
        android:id="@+id/logo"
        android:layout_width="300dp"
        android:layout_height="300dp"
        android:text="aaaaaaaaaaaaaaaaaaaa"
        android:background="@drawable/sdf"/>

文字距离左边padding了130dp了。
- 标签的作用: 我们知道图片的话,有自己的固有宽/高,但是像这种ShapeBitmap,没有固有宽/高,
getIntrinsicWidth/height获取到的是-1,所以我们如果设置了标签,获取到的就是你设置的值了。
<size
     android:width="100dp"
     android:height="100dp"/>
InsetDrawable:

可以把其他的Drawable内嵌到自己里面,然后在可以设置四周的距离。
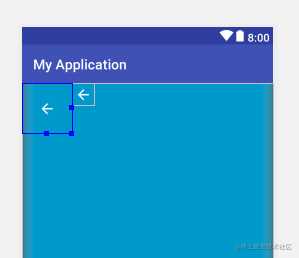
比如我们有时候在状态栏处,点击返回按钮,但是美工切图的返回键有点小,直接设置进去,有时候用户按返回键会按不到,一种是把ImageView的宽高设置的大一点,另外一种可以使用这个InsetDrawable。
<inset xmlns:android="http://schemas.android.com/apk/res/android"
    android:drawable="@drawable/back"
    android:insetLeft="20dp"
    android:insetTop="20dp"
    android:insetRight="20dp"
    android:insetBottom="20dp"
    >

</inset>
<ImageView
        android:layout_width="wrap_content"
        android:layout_height="wrap_content"
        android:background="@drawable/insetdrawable"
        />

    <ImageView
        android:layout_width="wrap_content"
        android:layout_height="wrap_content"
        android:background="@drawable/back"
        />
我们可以查看设置了InsetDrawable和直接设置返回按钮图片的样子:
ScaleDrawable:

可以缩放的Drawable,效果如下:
具体的使用可以参考这篇文章:Android Drawable – Scale Drawable使用详解
ClipDrawable:

可裁剪的Drawable,效果如下:

具体的使用可以参考这篇文章:ClipDrawable让开发变得更简单
Drawable集合
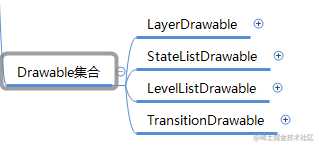
Drawable集合的意思是这些Drawable可以放多个Drawable,比如可以放多个图片资源在里面。
LayerDrawable

它是一种层次化的Drawable集合,通过不同的Drawable放置在不同的层上面达到了叠加后的效果。并且下面的item覆盖上面的item。

比如这个图片上的搜索框:
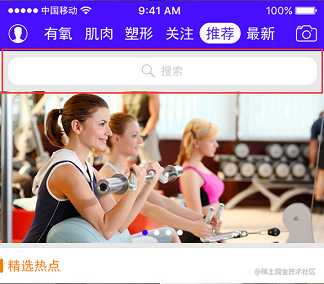
我们可以使用LayerDrawable来实现,只需要把中间的放大镜和文字变成一个图片,比如

然后背景为:
<?xml version="1.0" encoding="utf-8"?>
<shape xmlns:android="http://schemas.android.com/apk/res/android" android:shape="rectangle">

    <corners android:radius="20dp"/>
    <solid android:color="@color/colorWhite"/>

</shape>
最后使用LayerDrawable:
<?xml version="1.0" encoding="utf-8"?>
<layer-list xmlns:android="http://schemas.android.com/apk/res/android">

    <item
        android:drawable="@drawable/search_bg"/>

    <item android:drawable="@drawable/search"
        android:right="60dp"
        android:left="60dp"
        android:top="10dp"
        android:bottom="10dp"
        />

</layer-list>
效果图为:

具体可以参考以下文章:
Android Drawable – Layer Drawable使用详解
layer-list — layer-list的基本使用介绍
StateListDrawable

这个估计是大家用的最多的,通常用在不同的按钮上,当按下是什么背景,送开的时候是什么背景,当处于不可点击的时候是什么背景。

这个我就不多说了,可以参考这篇:Drawable子类之——StateListDrawable (选择器)
这里额外说一个注意点: 系统根据View状态从selector中按照从上到下的顺序查找选择对应item,所以默认的item放在最后一条,这样上面都不符合时候,会匹配上默认的item,因为默认的item不附带状态,可以匹配View的任何状态
LevelListDrawable

这个有点像StateListDrawable,在不同Level下会使用不同的图,不同的是,它是根据每个item设置的Level范围来确定的。
TransitionDrawable

主要是用来实现二个Drawable之间的淡入淡出,很容易就想到了animation动画来实现,但是发现使用动画的话,但是在调用statAnimation的时候因为图片已经显示了,再播放一次动画其实会导致细微的闪烁效果。所以可以使用TransitionDrawable来实现。
如下效果:
具体可以参考文章:[如何使用TransitionDrawable实现背景切换渐变效果 ](blog.csdn.net/u011043551/…)
结语
其实都是很基础的东西。但是就当自己做个总结了。
PS:这块的Drawable内容参考《Android 开发艺术探索》。
今天的文章Android技能树 — Drawable小结分享到此就结束了,感谢您的阅读。
版权声明:本文内容由互联网用户自发贡献,该文观点仅代表作者本人。本站仅提供信息存储空间服务,不拥有所有权,不承担相关法律责任。如发现本站有涉嫌侵权/违法违规的内容, 请发送邮件至 举报,一经查实,本站将立刻删除。
如需转载请保留出处:https://bianchenghao.cn/22550.html
