“我喜欢编写身份验证和授权代码。” 〜从来没有Java开发人员。 厌倦了一次又一次地建立相同的登录屏幕? 尝试使用Okta API进行托管身份验证,授权和多因素身份验证。
Spring Security不仅是一个功能强大且可高度自定义的身份验证和访问控制框架,它还是保护基于Spring的应用程序的实际标准。 从前,Spring Security需要使用大量的XML来配置所有内容,但是那段日子已经过去了。 如今,Spring Security通过Spring的JavaConfig提供了更简单的配置。 如果您看一下我最近写的JHipster OIDC示例中的`SecurityConfiguration.java`类,您会发现它少于100行代码!
Spring Security 5.0可以解析400多个票证,并且具有许多新功能 :
今天,我将向您展示如何在Okta中使用OAuth 2.0登录支持。 我还将向您展示如何通过OpenID Connect(OIDC)检索用户的信息。
您知道Okta提供免费的开发人员帐户 ,每月最多有7,000个活跃用户,对吗? 这应该足以使您的杀手级应用破土动工。
Spring Security使使用OAuth 2.0进行身份验证变得非常容易。 它还提供了通过OIDC获取用户信息的功能。 请按照以下步骤了解更多信息!
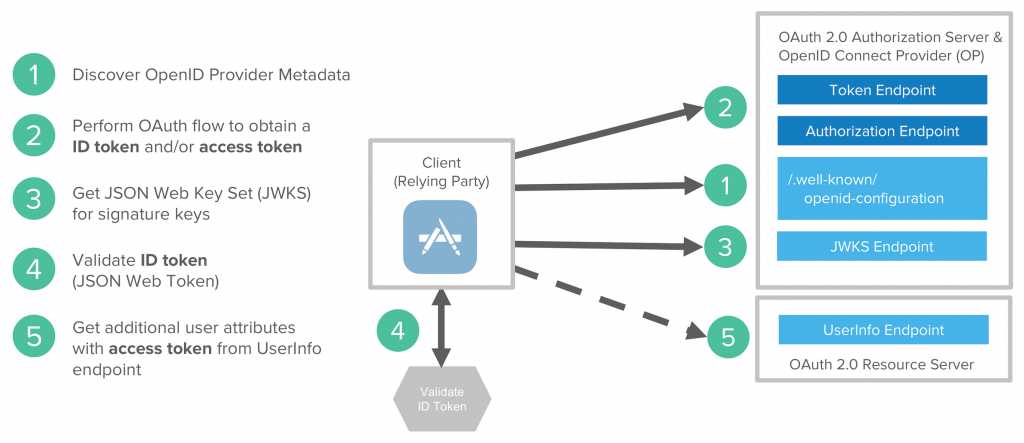
什么是OIDC? 如果您不熟悉OAuth或OIDC,建议您阅读OAuth到底是什么 。 开放ID连接流涉及以下步骤:
- 发现OIDC元数据
- 执行OAuth流以获取ID令牌和访问令牌
- 获取JWT签名密钥并有选择地动态注册客户端应用程序
- 根据内置日期和签名在本地验证JWT ID令牌
- 根据需要使用访问令牌获取其他用户属性
创建一个Spring Boot应用
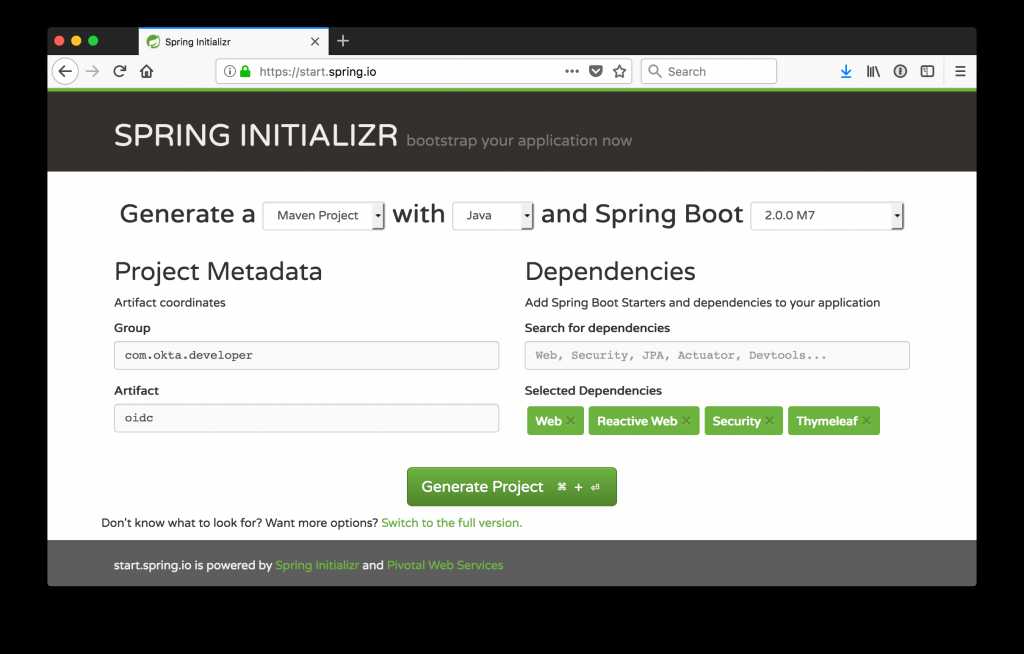
在浏览器中打开start.spring.io 。 Spring Initialzr是一个站点,可让您快速轻松地创建新的Spring Boot应用程序。 将Spring Boot版本(在右上角)设置为2.0.0.M7 。 输入组和工件名称。 从下面的屏幕快照中可以看到,我选择了com.okta.developer和oidc 。 对于依赖项,选择Web , Reactive Web , Security和Thymeleaf 。
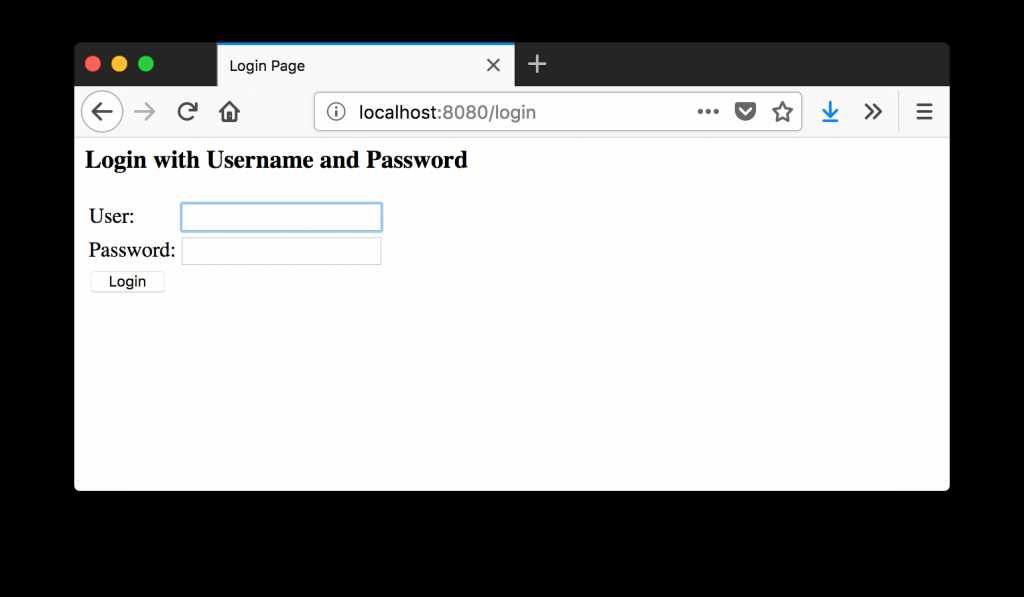
单击“ 生成项目” ,下载zip,将其展开到硬盘上,然后在您喜欢的IDE中打开该项目。 使用./mvnw spring-boot:run运行该应用程序, ./mvnw spring-boot:run将提示您登录。
Spring Security 4.x通过基本身份验证而不是登录表单提示您,因此这与Spring Security 5有所不同。
Spring Security启动程序创建一个默认用户,其用户名为“ user”,并且密码每次启动应用程序时都会更改。 您可以在终端中找到该密码,类似于以下密码。
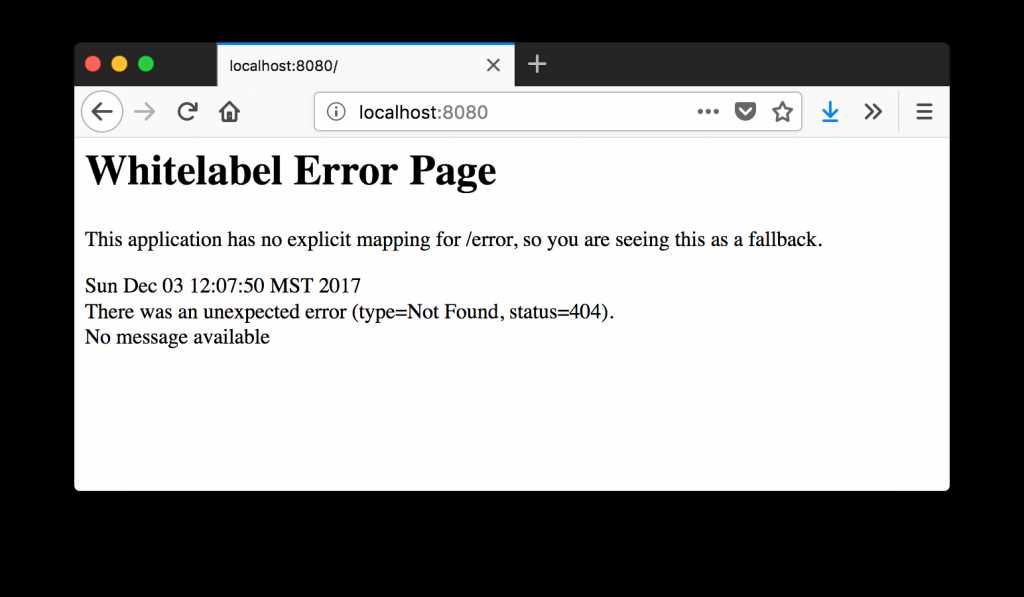
Using default security password: 103c55b4-2760-4830-9bca-a06a87d384f9 在表单中,为“用户”输入“ user”,并为“密码”输入生成的密码。 下一个屏幕将是404,因为您的应用未为/路径配置默认路由。
在Spring Boot 1.x中,您可以更改用户密码,因此每次都通过在src/main/resources/application.properties添加以下内容来更改密码。
security.user.password=spring security is ph@!但是,这是Spring Boot 2.0中不推荐使用的功能。 好消息是,此更改很可能会在GA发布之前恢复 。
同时,您可以将打印的密码复制到控制台,并与HTTPie一起使用 。
$ http --auth user:'bf91316f-f894-453a-9268-4826cdd7e151' localhost:8080
HTTP/1.1 404
Cache-Control: no-cache, no-store, max-age=0, must-revalidate
Content-Type: application/json;charset=UTF-8
Date: Sun, 03 Dec 2017 19:11:50 GMT
Expires: 0
Pragma: no-cache
Set-Cookie: JSESSIONID=65283FCBDB9E6EF1C0679290AA994B0D; Path=/; HttpOnly
Transfer-Encoding: chunked
X-Content-Type-Options: nosniff
X-Frame-Options: DENY
X-XSS-Protection: 1; mode=block
响应也将是404。
{
   "error": "Not Found",
   "message": "No message available",
   "path": "/",
   "status": 404,
   "timestamp": "2017-12-03T19:11:50.846+0000"
} 您可以通过在与OidcApplication.java ( src/main/java/com/okta/developer/oidc )相同的目录中创建MainController.java来摆脱404。 创建一个home()方法,该方法映射到/并返回用户名。
package com.okta.developer.oidc;

import org.springframework.web.bind.annotation.GetMapping;
import org.springframework.web.bind.annotation.RestController;

import java.security.Principal;

@RestController
public class MainController {

   @GetMapping("/")
   String home(Principal user) {
       return "Hello " + user.getName();
   }
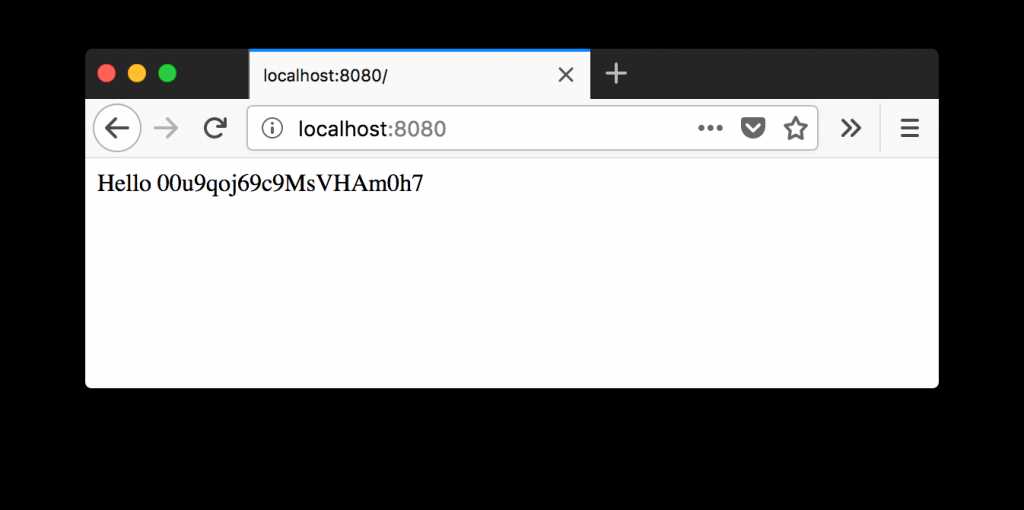
} 重新启动服务器,使用user和生成的密码登录,您应该看到Hello user 。
$ http --auth user:'d7c4138d-a1cc-4cc9-8975-97f37567594a' localhost:8080
HTTP/1.1 200
Cache-Control: no-cache, no-store, max-age=0, must-revalidate
Content-Length: 10
Content-Type: text/plain;charset=UTF-8
Date: Sun, 03 Dec 2017 19:26:54 GMT
Expires: 0
Pragma: no-cache
Set-Cookie: JSESSIONID=22A5A91051B7AFBA1DC8BD30C0B53365; Path=/; HttpOnly
X-Content-Type-Options: nosniff
X-Frame-Options: DENY
X-XSS-Protection: 1; mode=block

Hello user
使用Okta添加身份验证
在上一教程中 ,我向您展示了如何使用Spring Security OAuth为您的应用程序提供SSO。 您可以在Spring Security 5中执行相同的操作,但现在也可以指定多个提供程序,而以前是做不到的。 Spring Security 5有一个OAuth 2.0登录示例 ,以及有关所有工作原理的文档 。
创建一个OpenID Connect应用
要与Okta集成,您需要在developer.okta.com上注册一个帐户 。 确认电子邮件并登录后,导航至应用程序 > 添加应用程序 。 单击Web ,然后单击下一步 。 给应用程序起一个您将记住的名称,将http://localhost:8080指定为基本URI,并将http://localhost:8080/login/oauth2/code/okta为登录重定向URI。
将src/main/resources/application.properties重命名为src/main/resources/application.yml ,并使用以下内容进行填充。
spring:
 thymeleaf:
   cache: false
 security:
   oauth2:
     client:
       registration:
         okta:
           client-id: {clientId}
           client-secret: {clientSecret}
       provider:
         okta:
           authorization-uri: https://{yourOktaDomain}.com/oauth2/default/v1/authorize
           token-uri: https://{yourOktaDomain}.com/oauth2/default/v1/token
           user-info-uri: https://{yourOktaDomain}.com/oauth2/default/v1/userinfo
jwk-set-uri: https://{yourOktaDomain}.com/oauth2/default/v1/keys 将客户端ID和密码从OIDC应用程序复制到application.yml文件中。 对于{yourOktaDomain} ,请使用您域的值(例如dev-158606.oktapreview.com )。 请确保它不包括-admin在里面。
您需要将一些依赖项添加到pom.xml ,Spring Security 5的OAuth配置才能正确初始化。
<dependency>
   <groupId>org.springframework.security</groupId>
   <artifactId>spring-security-config</artifactId>
</dependency>
<dependency>
   <groupId>org.springframework.security</groupId>
   <artifactId>spring-security-oauth2-client</artifactId>
</dependency>
<dependency>
   <groupId>org.springframework.security</groupId>
   <artifactId>spring-security-oauth2-jose</artifactId>
</dependency>
<dependency>
   <groupId>org.thymeleaf.extras</groupId>
   <artifactId>thymeleaf-extras-springsecurity4</artifactId>
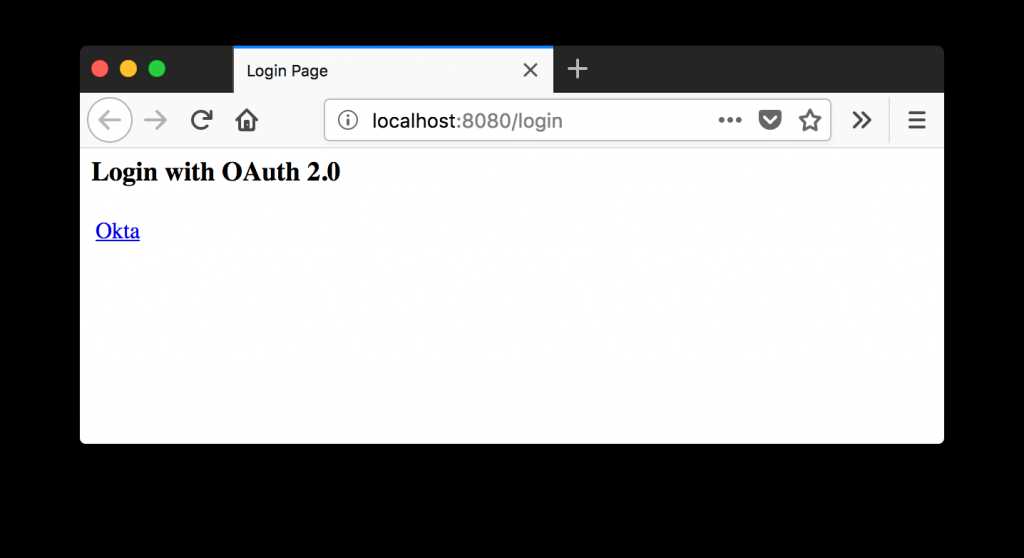
</dependency> 重新启动您的应用程序,然后再次导航到http://localhost:8080 。 您会看到一个链接,单击该链接可以单击Okta登录。
注意:如果您想学习如何自定义Spring Security显示的登录屏幕,请参阅其OAuth 2.0登录页面文档 。
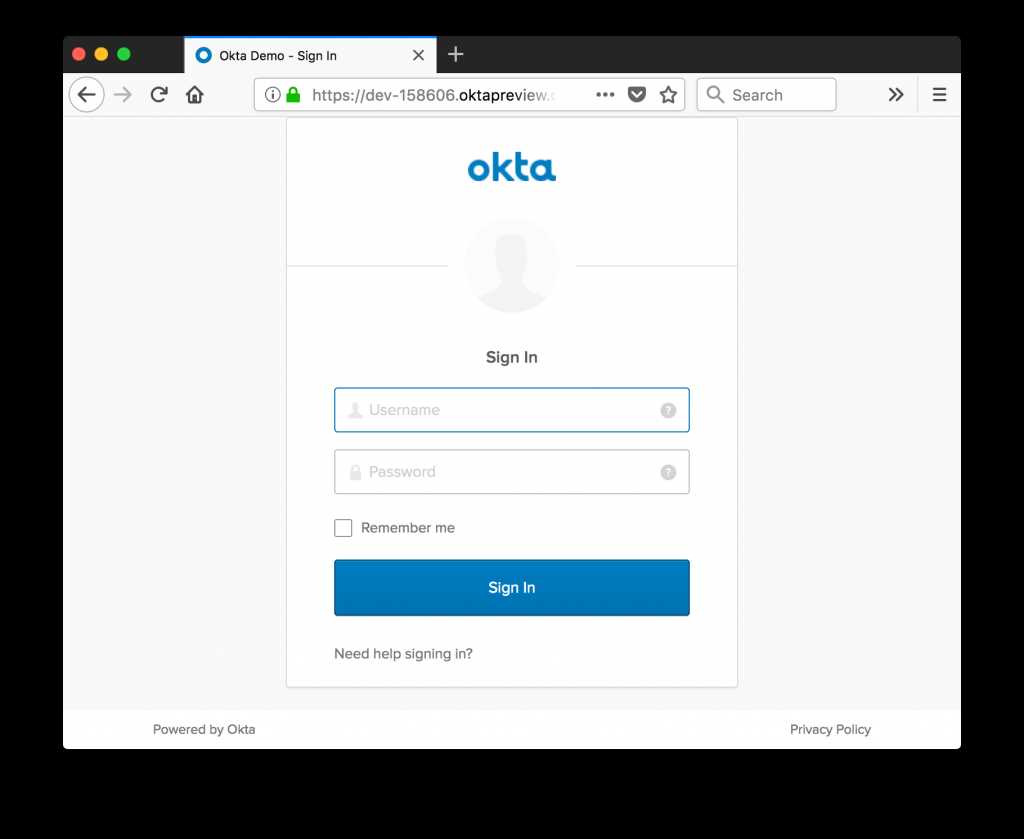
单击链接后,您应该会看到一个登录屏幕。
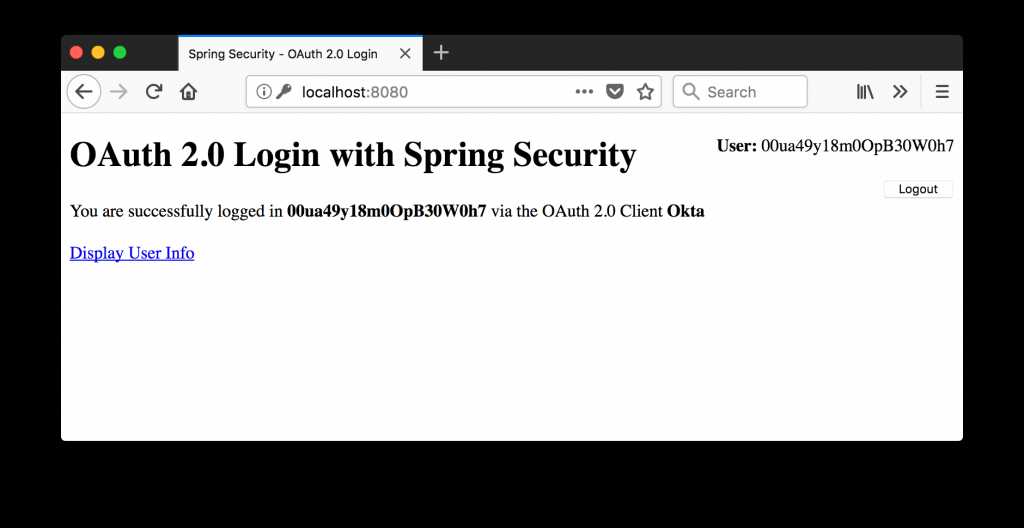
输入用于创建帐户的凭据,登录后应该会看到类似以下的屏幕。
注意:可以更改某些内容,以便Principal#getName()返回不同的值。 但是, Spring Boot 2.0.0.M7中存在一个错误 ,阻止了配置属性的工作。
使用OIDC获取用户信息
更改您的MainController.java使其具有以下代码。 这段代码添加了一个/userinfo映射,该映射使用Spring WebFlux的WebClient从用户信息端点获取用户信息。 我从Spring Security 5的OAuth 2.0登录示例复制了以下代码。
/*
* Copyright 2002-2017 the original author or authors.
*
* Licensed under the Apache License, Version 2.0 (the "License");
* you may not use this file except in compliance with the License.
* You may obtain a copy of the License at
*
*      http://www.apache.org/licenses/LICENSE-2.0
*
* Unless required by applicable law or agreed to in writing, software
* distributed under the License is distributed on an "AS IS" BASIS,
* WITHOUT WARRANTIES OR CONDITIONS OF ANY KIND, either express or implied.
* See the License for the specific language governing permissions and
* limitations under the License.
*/
package com.okta.developer.oidc;

import org.springframework.beans.factory.annotation.Autowired;
import org.springframework.http.HttpHeaders;
import org.springframework.security.oauth2.client.OAuth2AuthorizedClient;
import org.springframework.security.oauth2.client.OAuth2AuthorizedClientService;
import org.springframework.security.oauth2.client.authentication.OAuth2AuthenticationToken;
import org.springframework.stereotype.Controller;
import org.springframework.ui.Model;
import org.springframework.util.StringUtils;
import org.springframework.web.bind.annotation.RequestMapping;
import org.springframework.web.reactive.function.client.ClientRequest;
import org.springframework.web.reactive.function.client.ExchangeFilterFunction;
import org.springframework.web.reactive.function.client.WebClient;
import reactor.core.publisher.Mono;

import java.util.Collections;
import java.util.Map;

/**
* @author Joe Grandja
*/
@Controller
public class MainController {

   private final OAuth2AuthorizedClientService authorizedClientService;

   public MainController(OAuth2AuthorizedClientService authorizedClientService) {
       this.authorizedClientService = authorizedClientService;
   }

   @RequestMapping("/")
   public String index(Model model, OAuth2AuthenticationToken authentication) {
       OAuth2AuthorizedClient authorizedClient = this.getAuthorizedClient(authentication);
       model.addAttribute("userName", authentication.getName());
       model.addAttribute("clientName", authorizedClient.getClientRegistration().getClientName());
       return "index";
   }

   @RequestMapping("/userinfo")
   public String userinfo(Model model, OAuth2AuthenticationToken authentication) {
       OAuth2AuthorizedClient authorizedClient = this.getAuthorizedClient(authentication);
       Map userAttributes = Collections.emptyMap();
       String userInfoEndpointUri = authorizedClient.getClientRegistration()
               .getProviderDetails().getUserInfoEndpoint().getUri();
       if (!StringUtils.isEmpty(userInfoEndpointUri)) {    // userInfoEndpointUri is optional for OIDC Clients
           userAttributes = WebClient.builder()
                   .filter(oauth2Credentials(authorizedClient)).build()
                   .get().uri(userInfoEndpointUri)
                   .retrieve()
                   .bodyToMono(Map.class).block();
       }
       model.addAttribute("userAttributes", userAttributes);
       return "userinfo";
   }

   private OAuth2AuthorizedClient getAuthorizedClient(OAuth2AuthenticationToken authentication) {
       return this.authorizedClientService.loadAuthorizedClient(
               authentication.getAuthorizedClientRegistrationId(), authentication.getName());
   }

   private ExchangeFilterFunction oauth2Credentials(OAuth2AuthorizedClient authorizedClient) {
       return ExchangeFilterFunction.ofRequestProcessor(
               clientRequest -> {
                   ClientRequest authorizedRequest = ClientRequest.from(clientRequest)
                           .header(HttpHeaders.AUTHORIZATION,
                                   "Bearer " + authorizedClient.getAccessToken().getTokenValue())
                           .build();
                   return Mono.just(authorizedRequest);
               });
   }
} 在src/main/resources/templates/index.html创建Thymeleaf索引页面。 您可以使用Thymeleaf对Spring Security的支持,根据用户的身份验证状态显示/隐藏页面的不同部分。
<!DOCTYPE html>
<html xmlns="http://www.w3.org/1999/xhtml" xmlns:th="http://www.thymeleaf.org"
     xmlns:sec="http://www.thymeleaf.org/thymeleaf-extras-springsecurity4">
<head>
   <title>Spring Security - OAuth 2.0 Login</title>
   <meta charset="utf-8" />
</head>
<body>
<div style="float: right" th:fragment="logout" sec:authorize="isAuthenticated()">
   <div style="float:left">
       <span style="font-weight:bold">User: </span><span sec:authentication="name"></span>
   </div>
   <div style="float:none"> </div>
   <div style="float:right">
       <form action="#" th:action="@{/logout}" method="post">
           <input type="submit" value="Logout" />
       </form>
   </div>
</div>
<h1>OAuth 2.0 Login with Spring Security</h1>
<div>
   You are successfully logged in <span style="font-weight:bold" th:text="${userName}"></span>
   via the OAuth 2.0 Client <span style="font-weight:bold" th:text="${clientName}"></span>
</div>
<div> </div>
<div>
   <a href="/userinfo" th:href="@{/userinfo}">Display User Info</a>
</div>
</body>
</html> 在src/main/resources/userinfo.html上创建另一个模板以显示用户的属性。
<!DOCTYPE html>
<html xmlns="http://www.w3.org/1999/xhtml" xmlns:th="http://www.thymeleaf.org">
<head>
   <title>Spring Security - OAuth 2.0 User Info</title>
   <meta charset="utf-8" />
</head>
<body>
<div th:replace="index::logout"></div>
<h1>OAuth 2.0 User Info</h1>
<div>
   <span style="font-weight:bold">User Attributes:</span>
   <ul>
       <li th:each="userAttribute : ${userAttributes}">
           <span style="font-weight:bold" th:text="${userAttribute.key}"></span>: <span th:text="${userAttribute.value}"></span>
       </li>
   </ul>
</div>
</body>
</html>
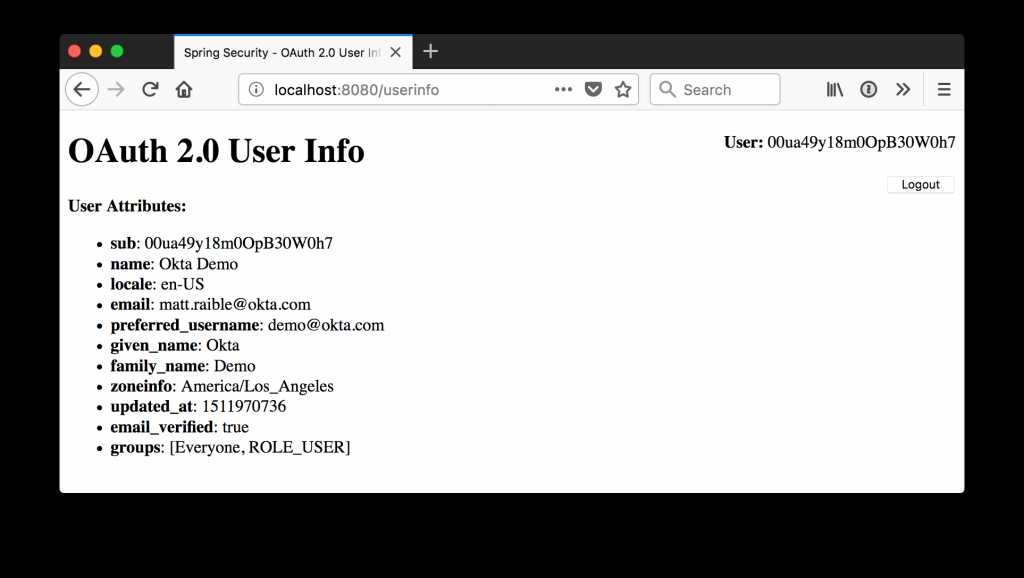
现在,当您登录时,您将看到一个显示用户信息的链接。
单击链接,您将看到从用户信息端点检索到的ID令牌的内容。
了解有关Spring Security和OIDC的更多信息
本文向您展示了如何使用OAuth 2.0和Spring Security 5实现登录。我还向您展示了如何使用OIDC检索用户信息。 本文开发的应用程序的源代码可以在GitHub上找到 。
这些资源提供了有关Okta和OIDC的其他信息:
- Okta开发人员文档及其OpenID Connect API
- 身份,声明和令牌– OpenID Connect入门,第1部分,共3部分
- 行动中的OIDC – OpenID Connect入门,第2部分,共3部分
- 令牌中有什么? – OpenID Connect入门,第3部分,共3部分
- 使用Spring Security和Thymeleaf向您的应用程序添加基于角色的访问控制
如果您对此帖子有任何疑问,请在下面发表评论。 您还可以使用okta标签将其发布到Stack Overflow或使用我们的开发人员论坛 。
在Twitter上关注@OktaDev,以获取更多精彩内容!
“我喜欢编写身份验证和授权代码。” 〜从来没有Java开发人员。 厌倦了一次又一次地建立相同的登录屏幕? 尝试使用Okta API进行托管身份验证,授权和多因素身份验证。
Spring Security 5.0和OIDC入门最初于2017年12月18日发布在Okta开发人员博客上。
翻译自: https://www.javacodegeeks.com/2018/03/build-authentication-easy-way-spring-security-5-0-oidc.html
今天的文章使用Spring Security 5.0和OIDC轻松构建身份验证分享到此就结束了,感谢您的阅读,如果确实帮到您,您可以动动手指转发给其他人。
版权声明:本文内容由互联网用户自发贡献,该文观点仅代表作者本人。本站仅提供信息存储空间服务,不拥有所有权,不承担相关法律责任。如发现本站有涉嫌侵权/违法违规的内容, 请发送邮件至 举报,一经查实,本站将立刻删除。
如需转载请保留出处:https://bianchenghao.cn/25412.html

