由于买的最小系统开发板只有一个按键感觉不大方便调试和搞其他东东,所以又在某宝买了一个4*4矩阵键盘拓展一下按键哈。能力有限,参照之前学的51单片机例程写了份简单粗暴型的按键扫描程序,如需在大项目中使用还是得用中断来处理比较好~
点击下载源码
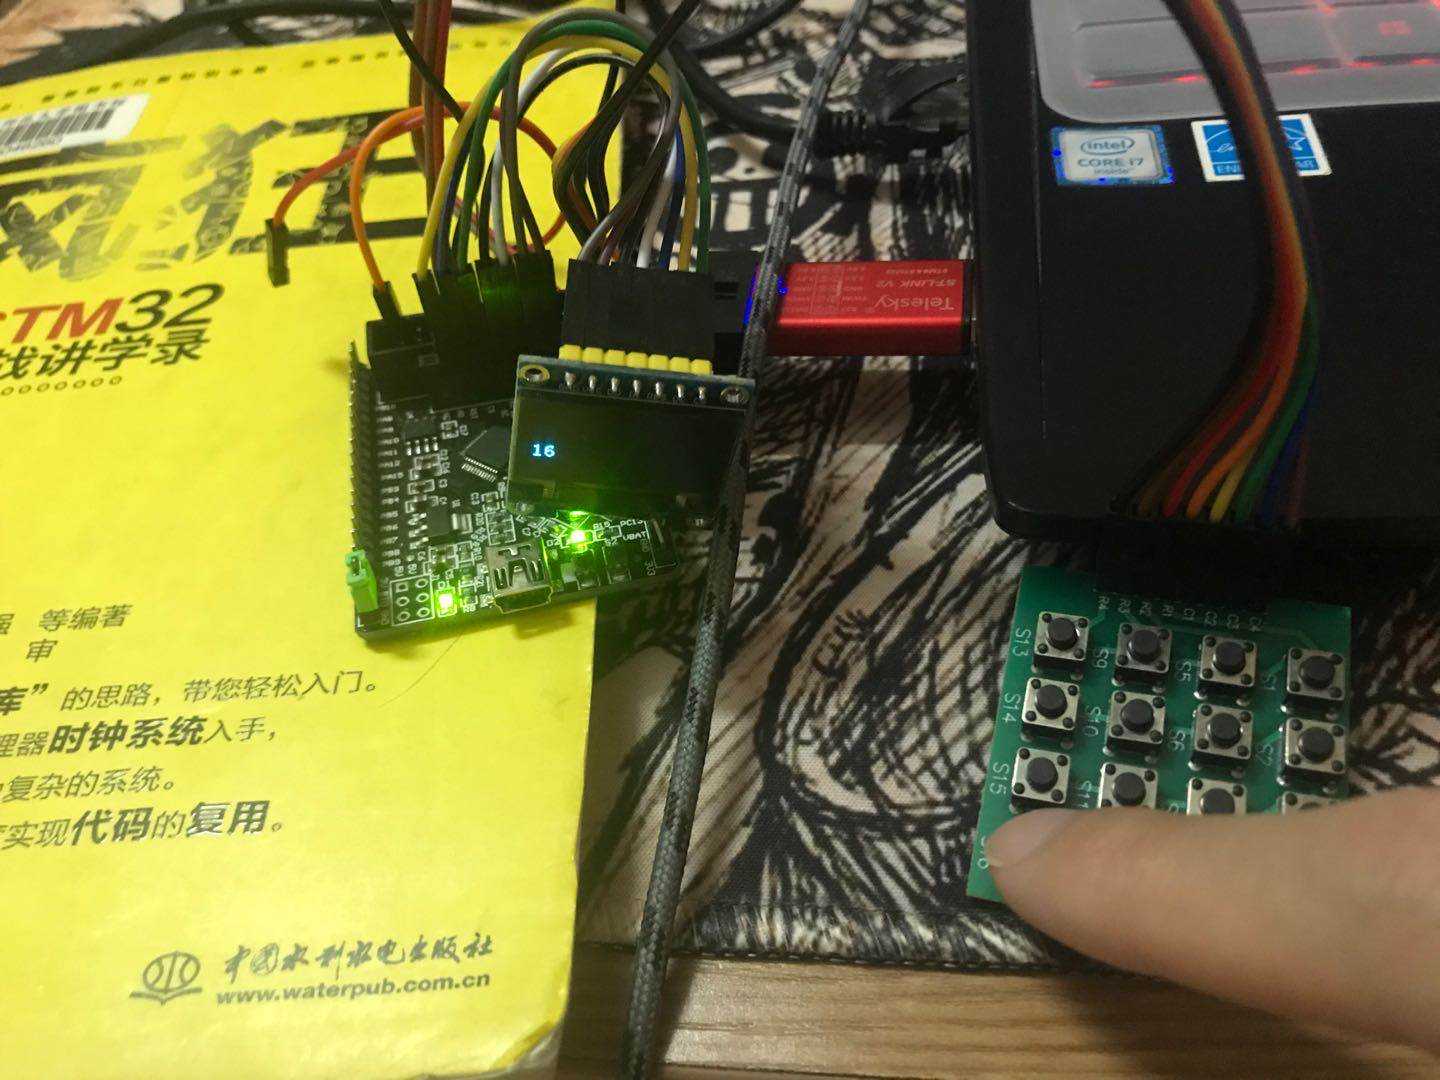
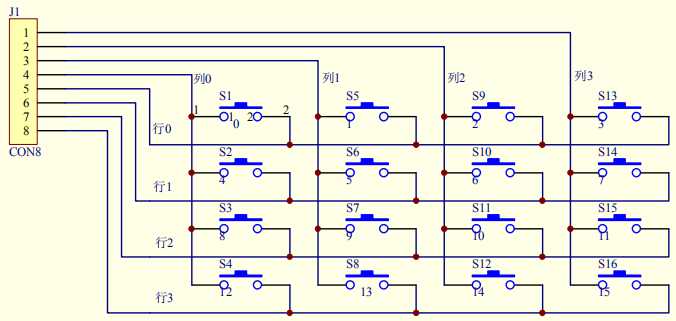
矩阵键盘实物和原理图
图中厂家给的图应该标错了序号,从左到右是S1-S4、S5-S8、S9-S12、S13-S16为一行,小伙伴们自行理会啦。

总体思路:先向矩阵的4行输出低电平,然后检测4列的输入,若为’0’的那列即该列有按键按下;接着向列输出高电平,检测行输入,若为’1’的那行即为按键在该列的位置,从而确定按键所在的某列某行了。(先检测行再检测列也是可以的)
void KEY1_Init(void)
{

   GPIO_InitTypeDef GPIO_InitStructure;
   RCC_APB2PeriphClockCmd (RCC_APB2Periph_GPIOA|RCC_APB2Periph_GPIOB,ENABLE);//使能GPIOA、B
   GPIO_InitStructure.GPIO_Mode=GPIO_Mode_IPU;//上拉输入
   GPIO_InitStructure.GPIO_Pin=GPIO_Pin_0|GPIO_Pin_1|GPIO_Pin_10|GPIO_Pin_11;
   GPIO_Init(GPIOB,&GPIO_InitStructure);
   GPIO_InitStructure.GPIO_Mode=GPIO_Mode_Out_PP;        //推挽输出
   GPIO_InitStructure.GPIO_Speed=GPIO_Speed_50MHz;
   GPIO_InitStructure.GPIO_Pin=GPIO_Pin_4|GPIO_Pin_5|GPIO_Pin_6|GPIO_Pin_7;
   GPIO_Init(GPIOA,&GPIO_InitStructure);
   GPIO_ResetBits(GPIOA,GPIO_Pin_4|GPIO_Pin_5|GPIO_Pin_6|GPIO_Pin_7); //行输出低电平,扫描列
}
void KEY2_Init(void)
{

   GPIO_InitTypeDef GPIO_InitStructure;
   RCC_APB2PeriphClockCmd (RCC_APB2Periph_GPIOA|RCC_APB2Periph_GPIOB,ENABLE);


   GPIO_InitStructure.GPIO_Mode=GPIO_Mode_Out_PP;        //推挽输出
   GPIO_InitStructure.GPIO_Speed=GPIO_Speed_50MHz;
   GPIO_InitStructure.GPIO_Pin=GPIO_Pin_0|GPIO_Pin_1|GPIO_Pin_2|GPIO_Pin_10;
   GPIO_Init(GPIOB,&GPIO_InitStructure);
   GPIO_SetBits(GPIOB,GPIO_Pin_0|GPIO_Pin_1|GPIO_Pin_10|GPIO_Pin_11);  //扫描行
   GPIO_InitStructure.GPIO_Mode=GPIO_Mode_IPD;   //下拉输入
   GPIO_InitStructure.GPIO_Pin=GPIO_Pin_4|GPIO_Pin_5|GPIO_Pin_6|GPIO_Pin_7;
   GPIO_Init(GPIOA,&GPIO_InitStructure);
}
u8 KeyScan(void)
{

	u8 column=0,KeyValue=0;
    KEY1_Init();    //行输入低电平,扫描列
	while(1)
	{

		if(PBin(0)==0)
		{

			delay_ms(50);
			if(PBin(0)==0)
			{

				column=1;        //第一列
			}
		}
		if(PBin(1)==0)
		{

			delay_ms(50);
			if(PBin(1)==0)
			{

				column=2;        //第二列
			}
		}
		if(PBin(10)==0)
		{

			delay_ms(50);
			if(PBin(10)==0)
			{

				column=3;        //第三列
			}
		}
		if(PBin(11)==0)
		{

			delay_ms(50);
			if(PBin(11)==0)
			{

				column=4;        //第四列
			}
		}
		if(column==1)
		{

				KEY2_Init();     //列输出高电平,扫描行
					if(PAin(7)==1) //第一列第一行
					{

						KeyValue=1;
						break;
					}
					if(PAin(6)==1) //第一列第二行
					{

						KeyValue=5;
						break;
					}
					if(PAin(5)==1) //第一列第三行
					{

						KeyValue=9;
						break;
					}
					if(PAin(4)==1) //第一列第四行
					{

						KeyValue=13;
						break;
					}

		}

		if(column==2)
		{

				KEY2_Init();     //以下同理
					if(PAin(7)==1)
					{

						KeyValue=2;
						break;
					}
					if(PAin(6)==1)
					{

						KeyValue=6;
						break;
					}
					if(PAin(5)==1)
					{

						KeyValue=10;
						break;
					}
					if(PAin(4)==1)
					{

						KeyValue=14;
						break;
					}

		}
		if(column==3)
		{

				KEY2_Init();
					if(PAin(7)==1)
					{

						KeyValue=3;
						break;
					}
					if(PAin(6)==1)
					{

						KeyValue=7;
						break;
					}
					if(PAin(5)==1)
					{

						KeyValue=11;
						break;
					}
					if(PAin(4)==1)
					{

						KeyValue=15;
						break;
					}

		}

		if(column==4)
		{

				KEY2_Init();
					if(PAin(7)==1)
					{

						KeyValue=4;
						break;
					}
					if(PAin(6)==1)
					{

						KeyValue=8;
						break;
					}
					if(PAin(5)==1)
					{

						KeyValue=12;
						break;
					}
					if(PAin(4)==1)
					{

						KeyValue=16;
						break;
					}
		}

	}
   return KeyValue;
}
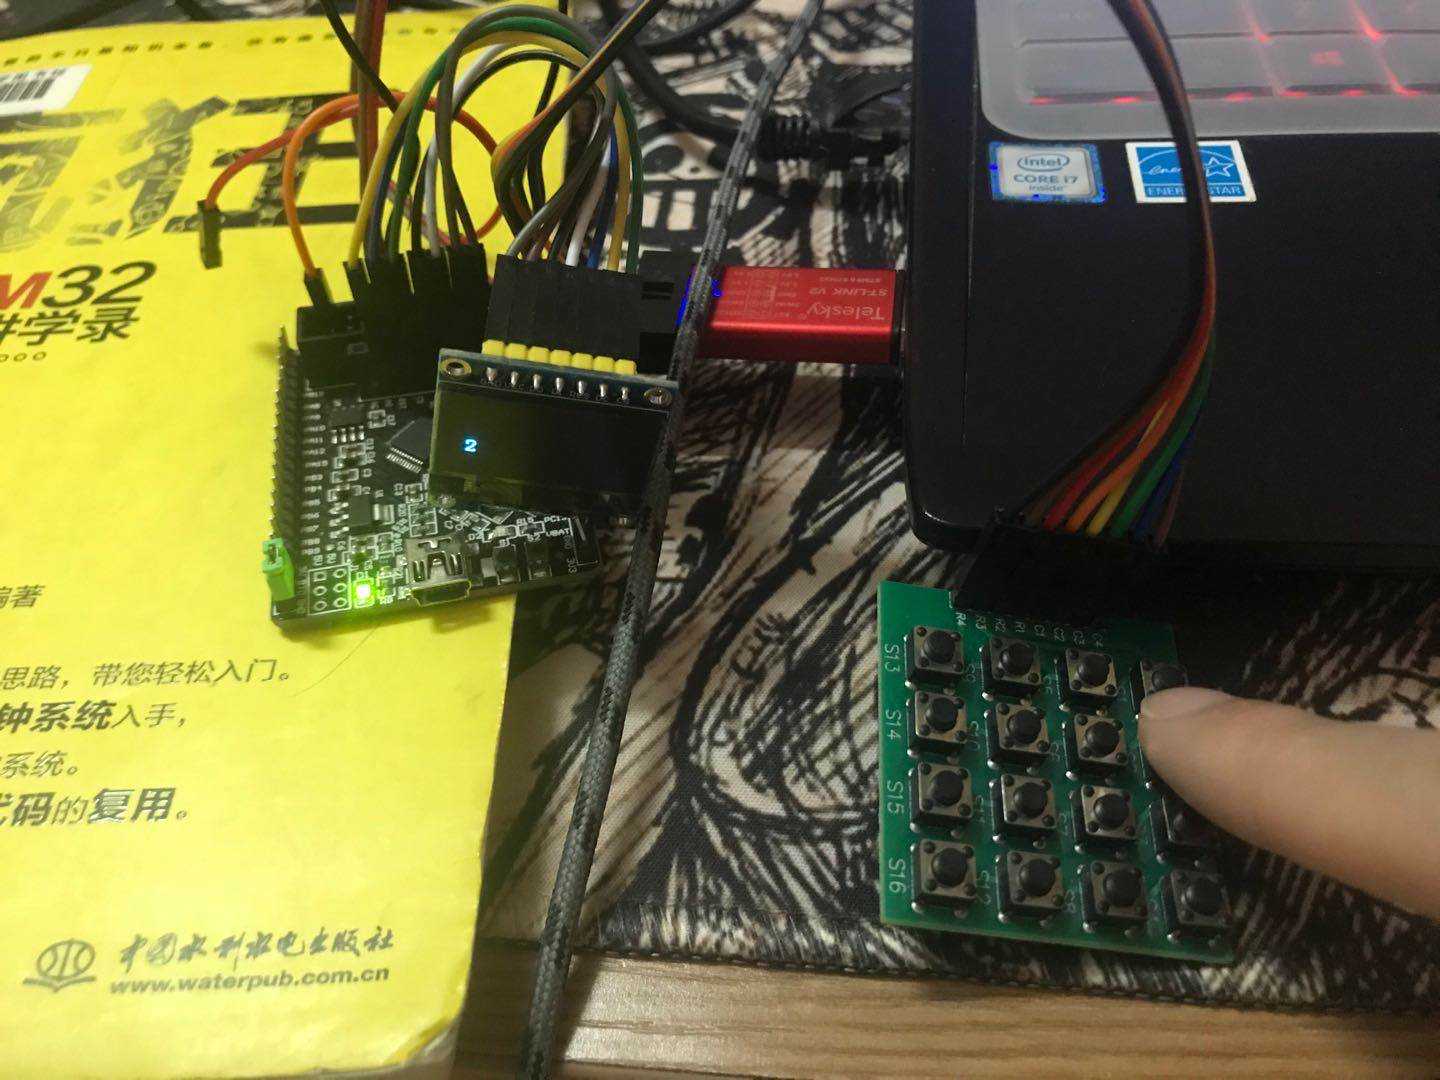
效果图

注意事项:
①在选择开发板的IO口时一定要看看原理图或者数据手册,确定这8个IO口是可用的(小编在使用时本来用了PB2引脚的,结果调试了好久都没得到正确的结果,检查了N多遍程序觉得没问题,最后回归到硬件上才发现原来只有PB2与BOOT1和GND相连了,所以就导致大部分结果都出错啦,希望其他小伙伴别走进坑哈哈)
②关于IO口输入输出模式的选择问题。输出模式一般都是选择推挽输出的,因为可直接输出0或1;关于输入模式的话,按键一边输出了0(1),那么要检测是否有按键按下,另一边的应选择上拉输入设置该引脚为1(下拉输入设置该引脚为0)。
③该程序没有写按键松开检测程序,所以不松开按键的话可以一直检测到;想弄按键松开检测的小伙伴可以设置一个静态变量作为按键松开的标志即可。
这里用的方法比较简单易懂,但是比较占用MCU的资源。若大家有很好的推荐,欢迎交流沟通呀!!!若大家要下载源码可以留言邮箱(设置了0C币发现过几天会自动升价)。
版权声明:本文内容由互联网用户自发贡献,该文观点仅代表作者本人。本站仅提供信息存储空间服务,不拥有所有权,不承担相关法律责任。如发现本站有涉嫌侵权/违法违规的内容, 请发送邮件至 举报,一经查实,本站将立刻删除。
如需转载请保留出处:https://bianchenghao.cn/38900.html


