前言
上一篇博客就大致讲了一下qrscan这个插件的使用,没有具体的实现,这篇博客就来个实战吧,来做一个反盗版商品的例子
准备工具
这套课程是采用Android Studio进行开发的。当前在此之前请准备好Flutter开发环境,我这里就不进行讲解了,基础知识请到条形码和二维码扫描这篇博客学习
配置后端接口
本次项目主要是调用公开的api,可能没有及时的更新,商品的信息有点些出入
创建一个config文件夹,创建一个service_url.dart文件
const serviceUrl='http://www.mxnzp.com';
const servicePath={

  'getProductMessage':serviceUrl+'/api/barcode/goods/details',  //获取活动信息
};
编写调用接口方法
创建一个service文件夹,创建一个service_method.dart
import 'package:dio/dio.dart';
import 'dart:async';
import '../config/service_url.dart';

// 获取商品的信息
Future request(barcode) async{

  try {

    print('开始获取信息');
    Response response;
    Dio dio=new Dio();
    String barCode=barcode.toString();
    var data={
   "barcode":barCode};
    print(data);
    response=await dio.get("http://www.mxnzp.com/api/barcode/goods/details",queryParameters: data);
    print(response.data['code']);
    if(response.data['code']==1){

      print(response.data['data']);
      return response.data['data'];
    }else{

      throw Exception('后端端口异常');
    }
  } catch (e) {

    return print('ERROR:=========>${e}');
  }
}
页面布局
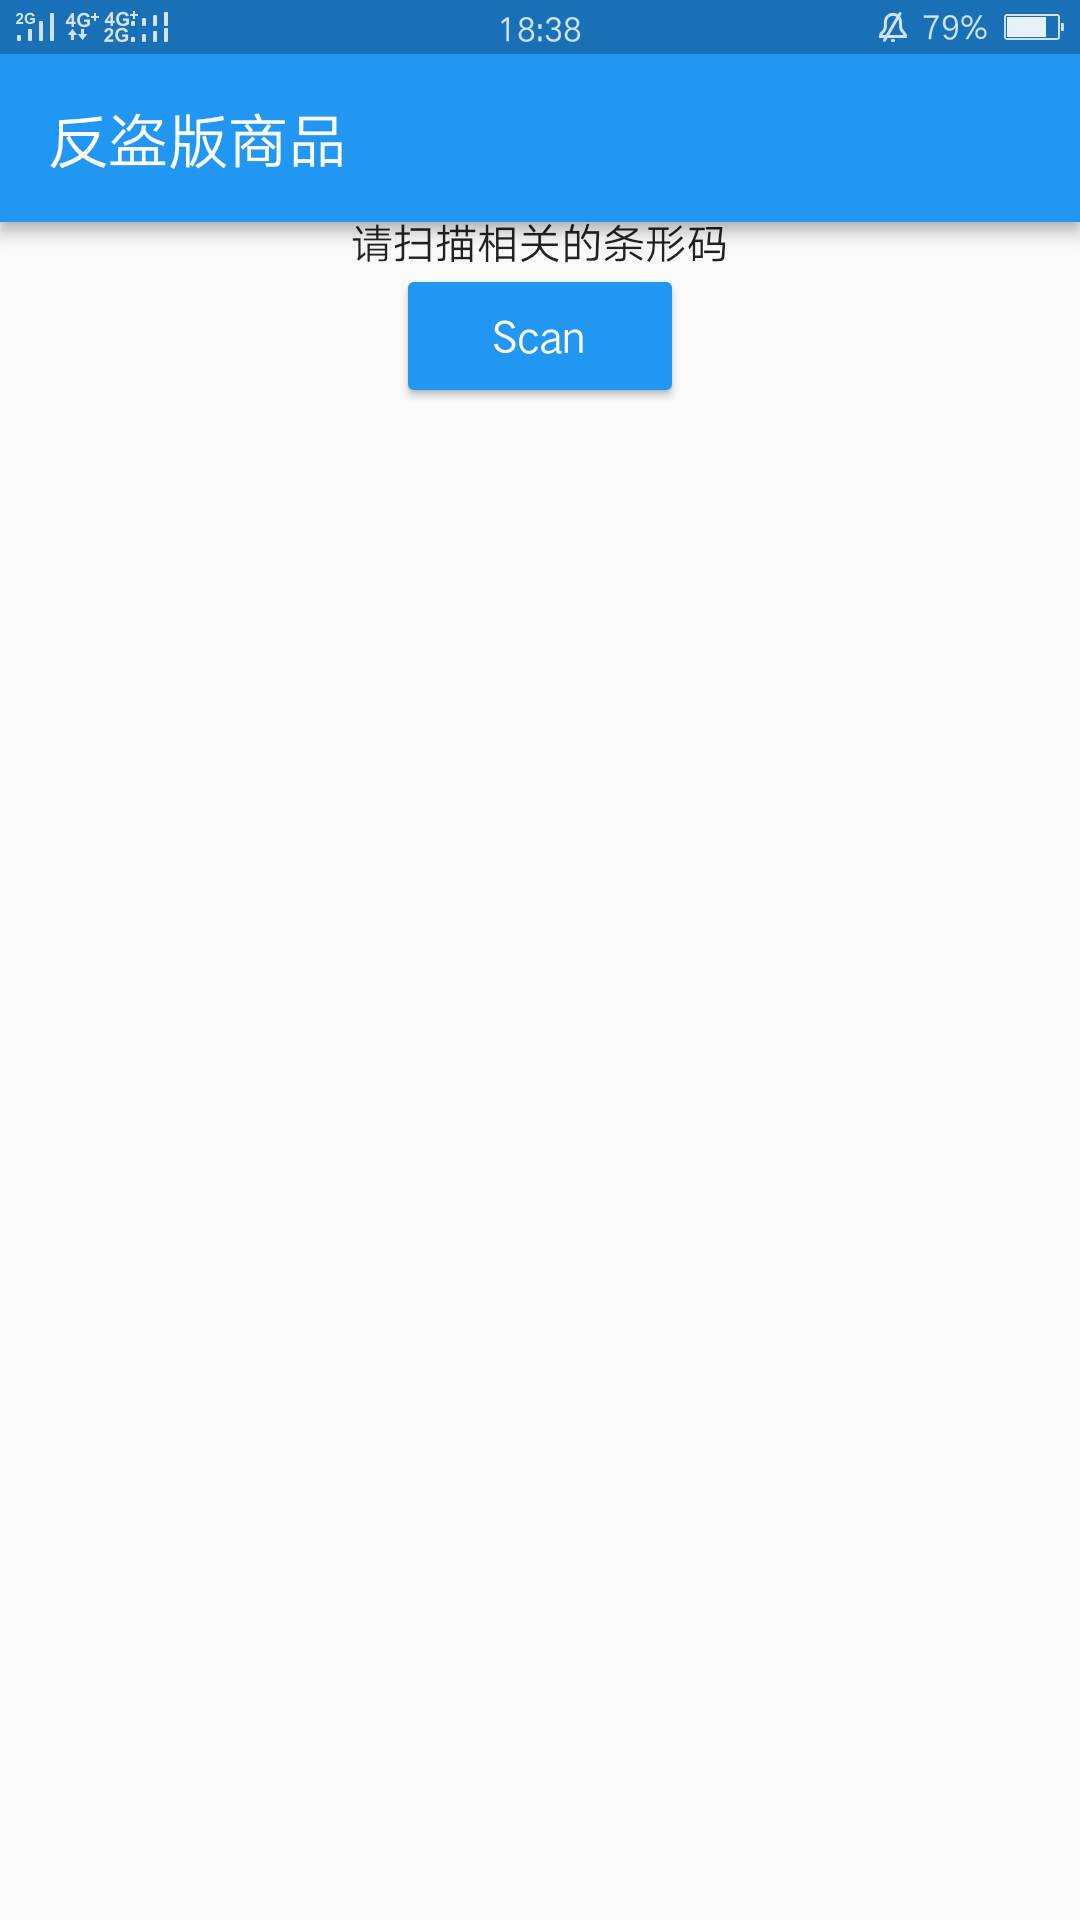
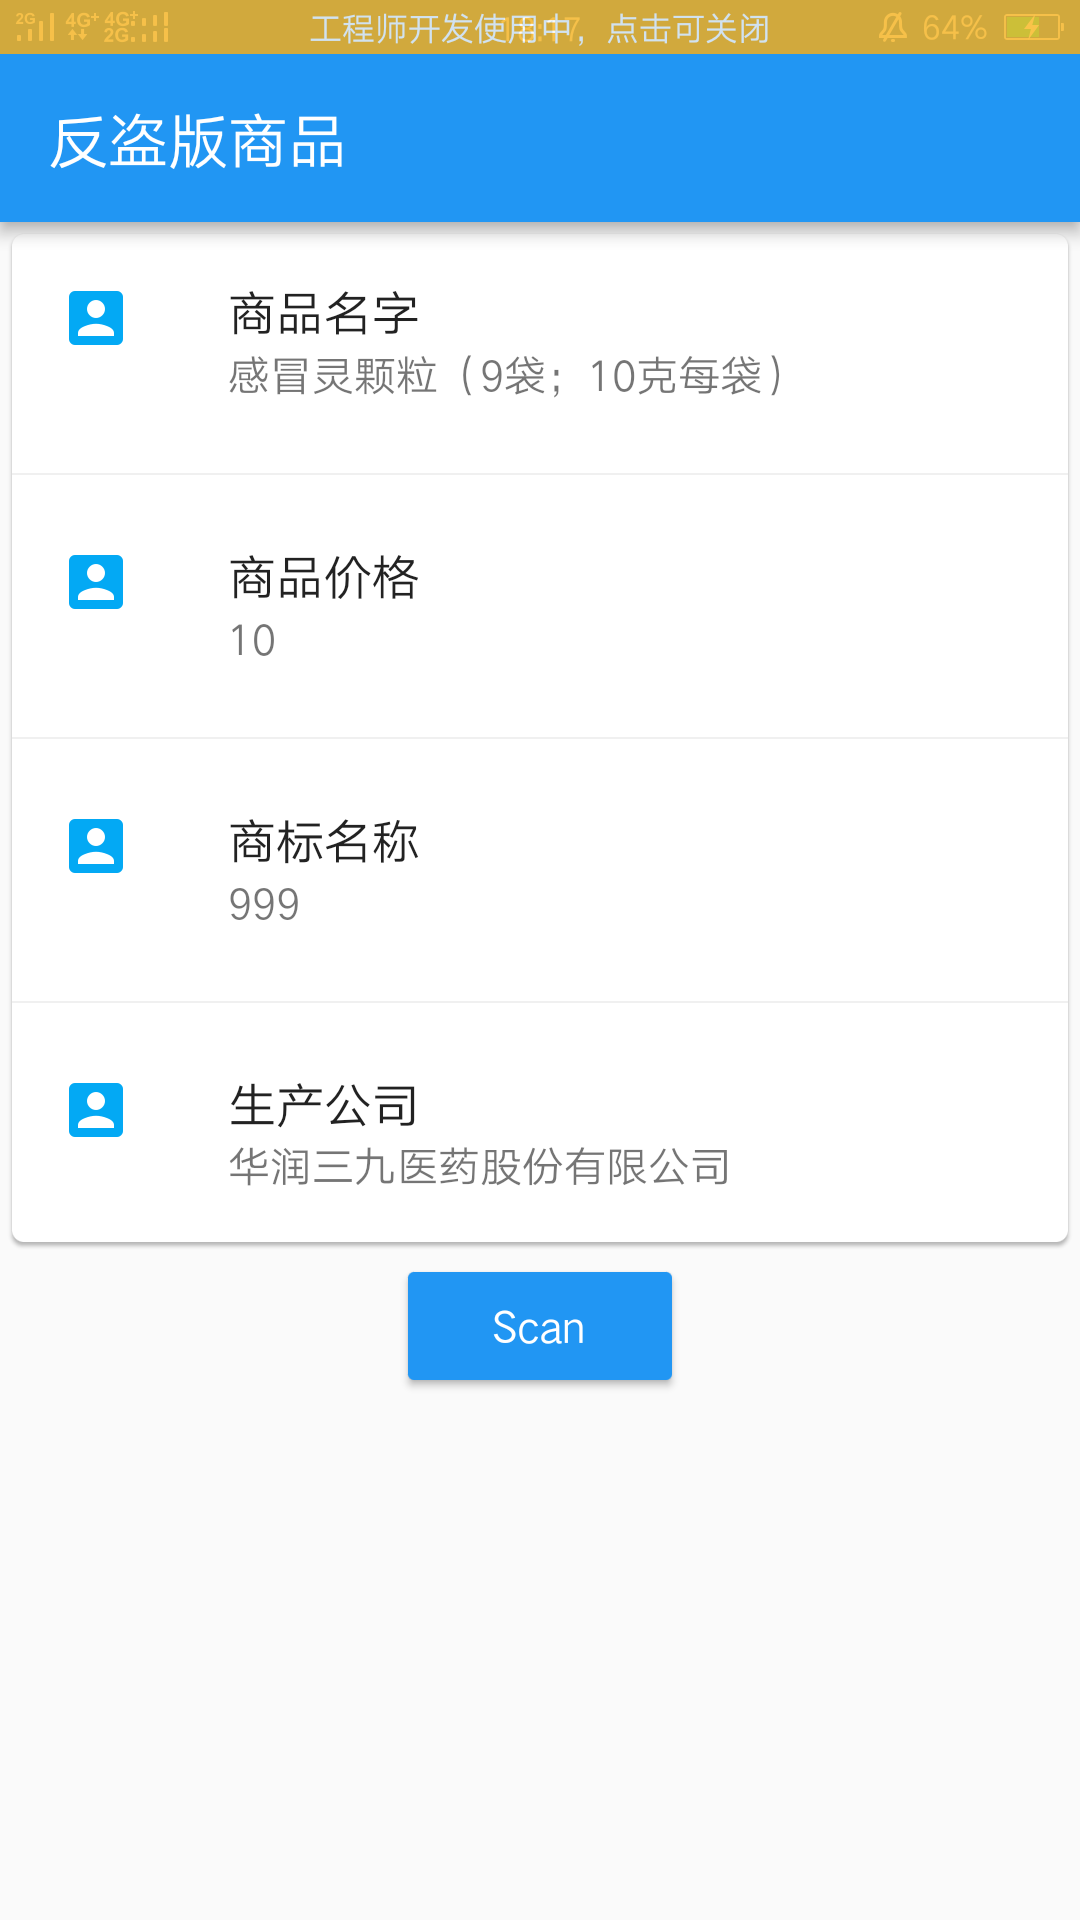
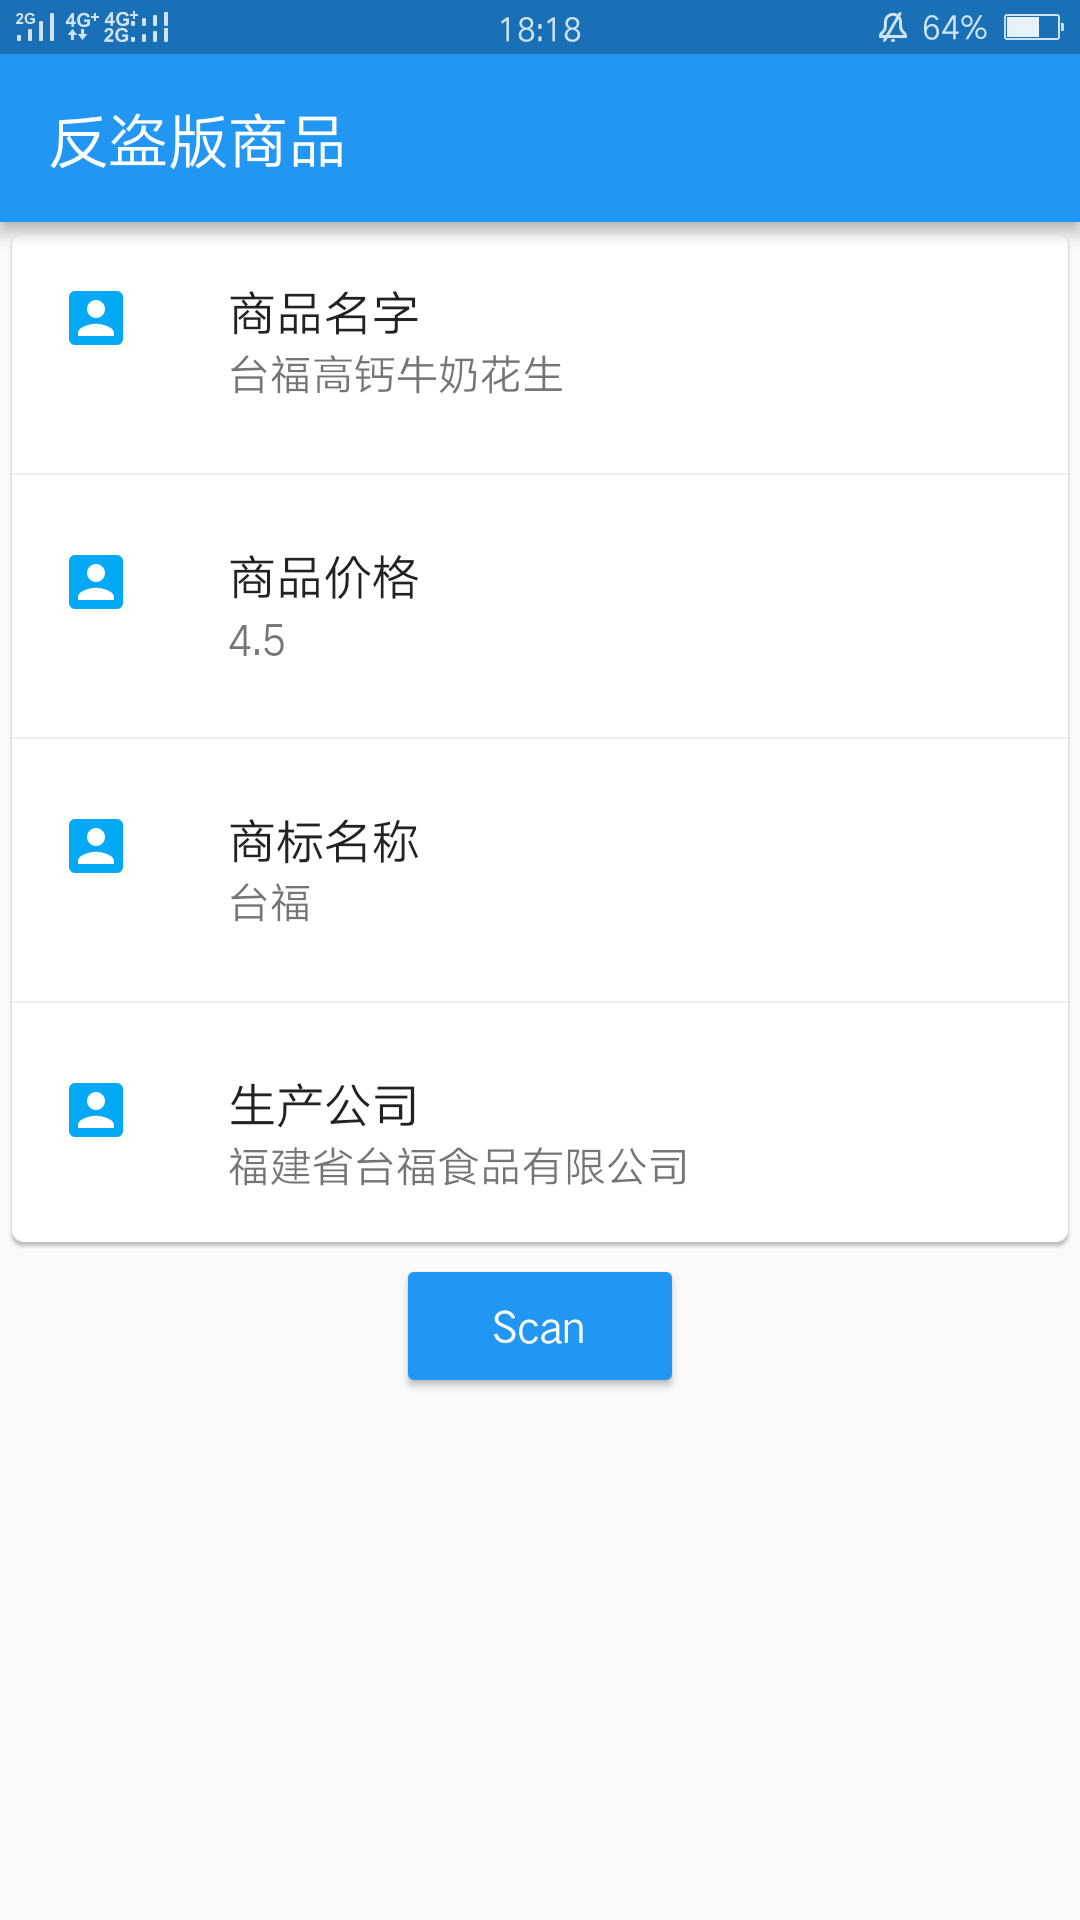
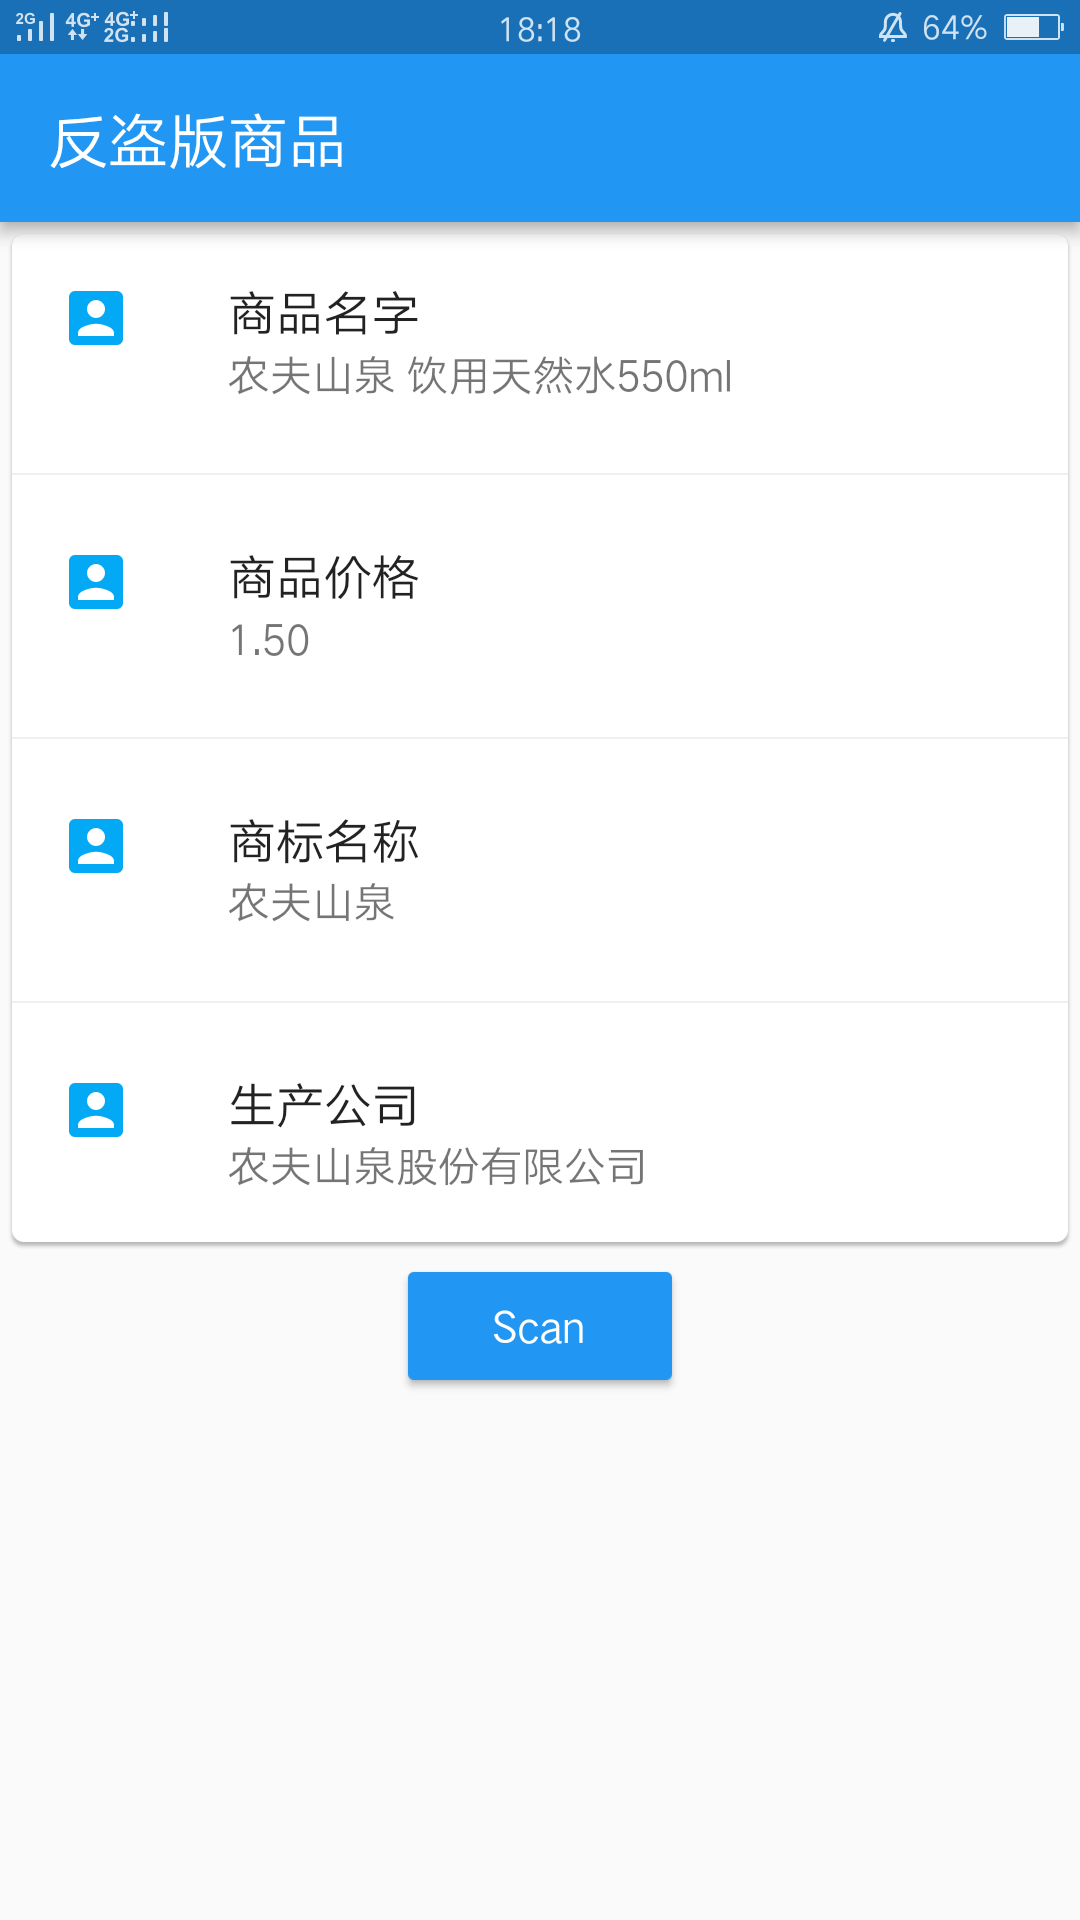
采用卡片布局,感觉代码蛮简单的,就不给大家解释了,直接上代码
import 'package:flutter/material.dart';
import 'package:qrscan/qrscan.dart' as scanner;
import './service/service_method.dart';

void main() => runApp(MyApp());

class MyApp extends StatefulWidget {

  MyApp({
   Key key}) : super(key: key);

  _MyAppState createState() => _MyAppState();
}

class _MyAppState extends State<MyApp> {

  String barcode = null;

  @override
  initState() {

    super.initState();
  }

  @override
  Widget build(BuildContext context) {

    return MaterialApp(
      debugShowCheckedModeBanner: false,
      home: Scaffold(
        appBar: AppBar(
          title: Text('反盗版商品'),

        ),
        body: Container(
          margin: EdgeInsets.only(top: 0),
          child: Column(
            //mainAxisAlignment: MainAxisAlignment.end,
            children: <Widget>[
              FutureBuilder(
                future: request(barcode),
                builder: (context,snapshot){

                  if(snapshot.hasData){

                    Map projectItem=snapshot.data;

                    return projectMessage(projectItem:projectItem);

                  }else{

                      return Center(
                        child:Text('请扫描相关的条形码')
                      );
                    }
                },
              ),
              //Text(barcode),
              MaterialButton(
                onPressed: scan,
                child: Text("Scan"),
                color: Colors.blue,
                textColor: Colors.white,
              ),
            ],
          ),
        ),
      ),
    );
  }

  Future scan() async {

    try {

      String barcode = await scanner.scan();
      setState(() => this.barcode = barcode);
    } on Exception catch (e) {

      if (e == scanner.CameraAccessDenied) {

        setState(() {

          this.barcode = 'The user did not grant the camera permission!';
        });
      } else {

        setState(() => this.barcode = 'Unknown error: $e');
      }
    } on FormatException {

      setState(() => this.barcode = 'null (User returned using the "back"-button before scanning anything. Result)');
    } catch (e) {

      setState(() => this.barcode = 'Unknown error: $e');
    }
  }
}

 class projectMessage extends StatelessWidget {

    final Map projectItem;

    const projectMessage({
   Key key,this.projectItem}) : super(key: key);

    @override
    Widget build(BuildContext context) {

      return Container(
        child: Card(
          child: Column(
            children: <Widget>[
              ListTile(
                title:new Text('商品名字',style: TextStyle(fontWeight: FontWeight.w500),),
                subtitle: new Text(projectItem['goodsName']),
                leading: new Icon(Icons.account_box,color: Colors.lightBlue,),
              ),
              new Divider(),
              ListTile(
                title:new Text('商品价格',style: TextStyle(fontWeight: FontWeight.w500),),
                subtitle: new Text(projectItem['price']),
                leading: new Icon(Icons.account_box,color: Colors.lightBlue,),
              ),
              new Divider(),
              ListTile(
                title:new Text('商标名称',style: TextStyle(fontWeight: FontWeight.w500),),
                subtitle: new Text(projectItem['brand']),
                leading: new Icon(Icons.account_box,color: Colors.lightBlue,),
              ),
              new Divider(),
              ListTile(
                title:new Text('生产公司',style: TextStyle(fontWeight: FontWeight.w500),),
                subtitle: new Text(projectItem['supplier']),
                leading: new Icon(Icons.account_box,color: Colors.lightBlue,),
              ),
            ],
          ),
        ),
      );
    }
  }

class Qrscan {

}
完整的代码请到我的GitHub观看吧,编写不易,感觉有用的话,请给我一个赞和star吧。
今天的文章Flutter实战开发(2)——实现条形码扫描获取商品信息分享到此就结束了,感谢您的阅读。
版权声明:本文内容由互联网用户自发贡献,该文观点仅代表作者本人。本站仅提供信息存储空间服务,不拥有所有权,不承担相关法律责任。如发现本站有涉嫌侵权/违法违规的内容, 请发送邮件至 举报,一经查实,本站将立刻删除。
如需转载请保留出处:https://bianchenghao.cn/65835.html


