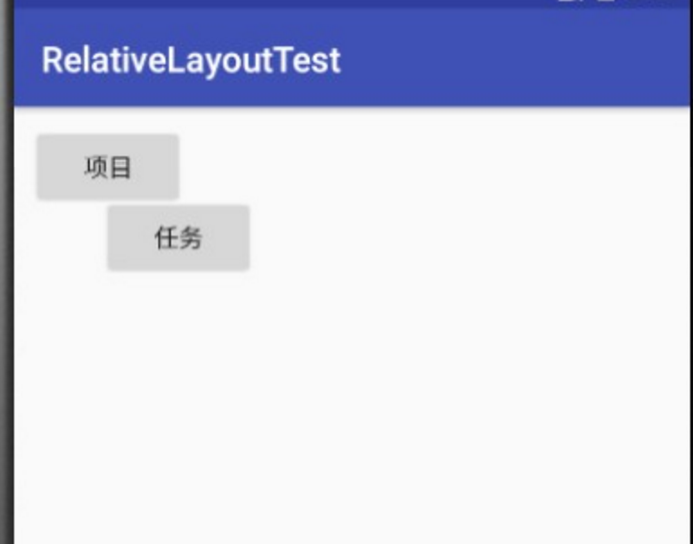
layout_marginTop,layout_marginBottom,layout_marginRight,layout_marginLeft 是 RelativeLayout 中的四种属性,今天在进行UI设计的时候,着实困扰了好久,索性做个总结。
先上结论:
-
layout_marginTop 指定该属性所在控件距上部最近控件的最小值;
-
layout_marginBottom 指定该属性所在控件距下部最近控件的最小值;
-
layout_marginLeft 指定该属性所在控件距左边最近控件的最小值;
-
layout_marginRight 指定该属性所在控件距右边最近控件的最小值。
首先,需要明确的是,RelativeLayout 是相对布局,这意味着其中的所有控件如果不进行具体的位置确定,都将汇集在左上角。
下面,以代码为例,来学习这四个属性。
新建一个 project 为:RelativeLayoutTest,其他一切按照默认,一路 Enter 。接下来,我们只需要修改布局文件,然后查看效果。
一个控件的情况
layout_marginTop
- 根据这个名字,我们也可以知道,它指的是 该属性所在控件的边缘与上部控件的边缘的距离,这里的边缘是最靠近的边缘,即两个控件之间的最小距离,这里是该控件的上部边缘与父控件的下部边缘。
<?xml version="1.0" encoding="utf-8"?>
<RelativeLayout xmlns:android="http://schemas.android.com/apk/res/android" android:orientation="vertical" android:layout_width="match_parent" android:layout_height="match_parent">
  <Button android:id="@+id/project" android:layout_width="wrap_content" android:layout_height="wrap_content" android:text="项目" android:layout_marginTop="50dp"/>
</RelativeLayout>
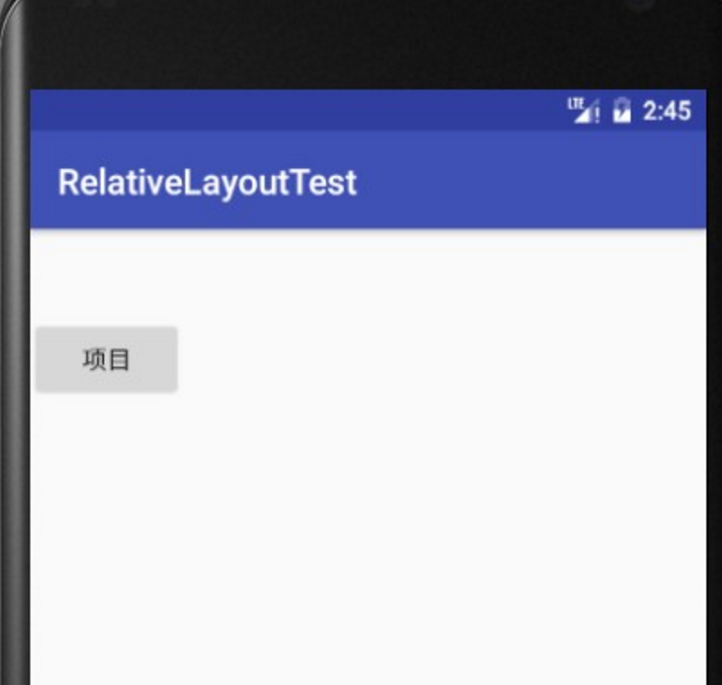
我们在布局文件中新建了一个 Button 按钮,指定 layout_marginTop 的值为 50dp,效果如下:
按钮上边缘距离父控件的距离为 50dp。
layout_marginBottom
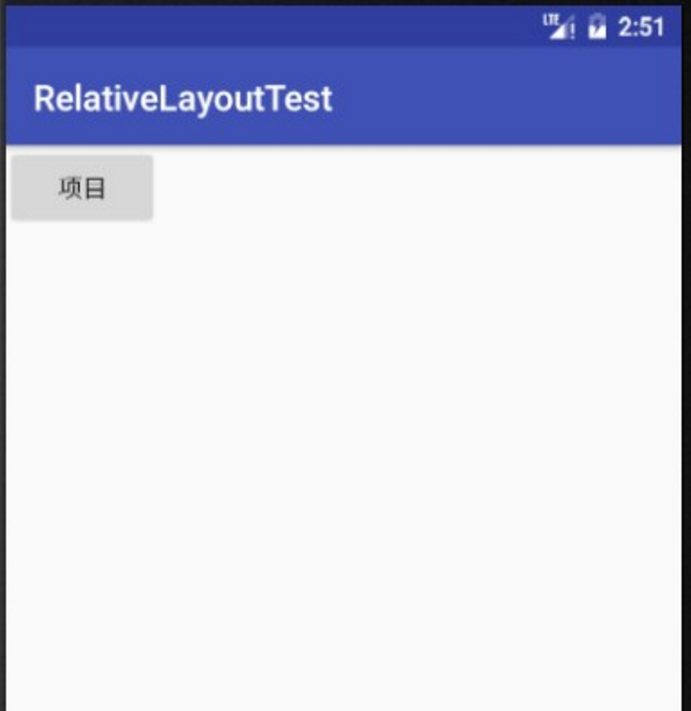
下面,我们将上部代码的 最后一行改为 android:layout_marginBottom="50dp",查看效果:
为什么按钮不是距离父控件的下部50dp,而是紧贴父控件的左上角呢?我们前面讲过,RelativeLayout 布局的控件是默认汇集在左上角的,我们指定的layout_marginBottom 的值远小于父控件默认的距离,此时,控件会按照默认取值。
layout_marginLeft 和 layout_marginRight 也是同理。
两个控件的情况
layout_marginTop
我们新增了一个“任务”按钮:
<?xml version="1.0" encoding="utf-8"?>
<RelativeLayout xmlns:android="http://schemas.android.com/apk/res/android" android:orientation="vertical" android:layout_width="match_parent" android:layout_height="match_parent">
  <Button android:id="@+id/project" android:layout_width="wrap_content" android:layout_height="wrap_content" android:text="项目" />
  <Button android:id="@+id/task" android:layout_width="wrap_content" android:layout_height="wrap_content" android:text="任务" android:layout_marginTop="50dp"/>
</RelativeLayout>
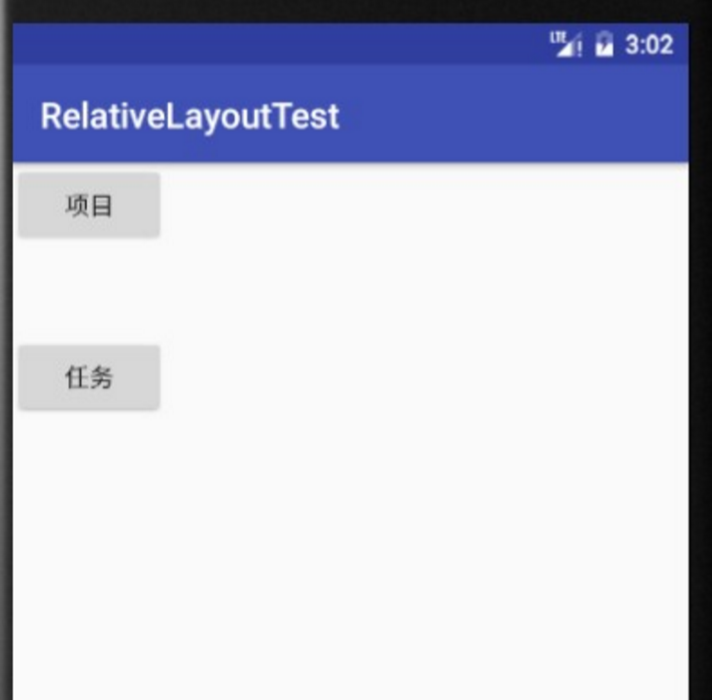
查看效果如下:
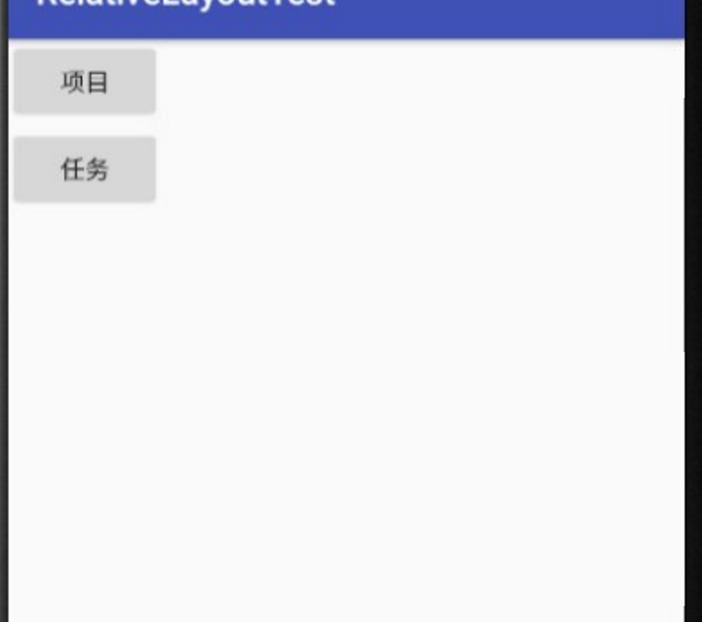
可以很明显的看出,’任务‘按钮本来是与“项目”按钮重合的,现在,由于 android:layout_marginTop 的作用,它移到了上部边缘距离父布局下部边缘 50dp 的位置。
下面,我们给 “任务” 按钮添加一行代码:
android:layout_below="@id/project"
这行代码指定 “任务” 按钮位于 “项目” 按钮的下方,其他代码不变,我们来看看效果:
对比一下第一张图的项目按钮与本张图的任务按钮的位置,我们就可以发现,此时,layout_marginTop 指定的50dp 指的是:“任务”按钮与“项目”按钮之间的距离是50dp,而不是任务按钮与父控件下边缘的距离为50dp。
- 现在,你应该明白我所说的最近控件的含义了吧。
layout_marginBottom
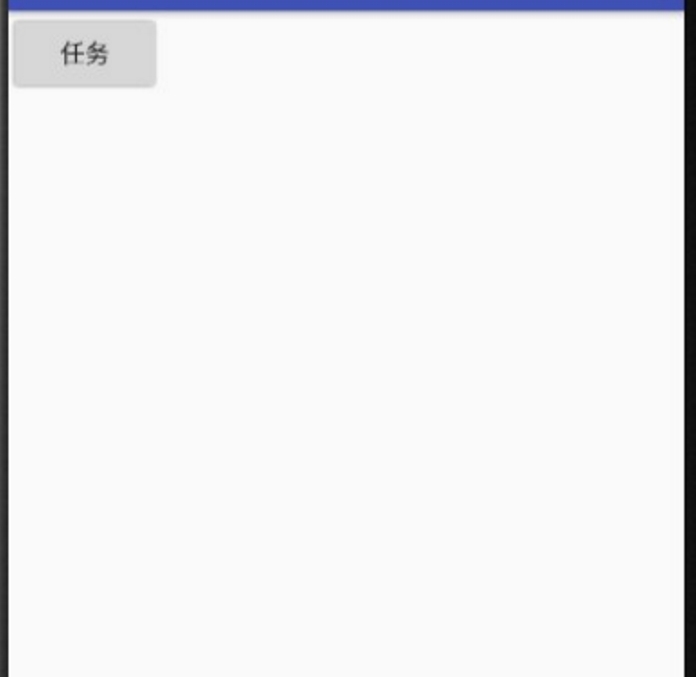
我们将上述代码中的 android:layout_marginTop="50dp" 改为 android:layout_marginBottom="50dp",并删除android:layout_below="@id/project",查看效果:
此时只有一个 “任务” 按钮了。因为,父布局是 RelativeLayout,两个按钮重合了。这也说明,当layout_marginBottom指定的距离小于默认的距离时,会按照默认的方式排列控件。
额外赠送一个: layout_margin
layout_margin 指定该属性所在的控件距上下左右最近控件的最小值。
仍旧是看一下代码:
<?xml version="1.0" encoding="utf-8"?>
<RelativeLayout xmlns:android="http://schemas.android.com/apk/res/android" android:orientation="vertical" android:layout_width="match_parent" android:layout_height="match_parent">
  <Button android:id="@+id/project" android:layout_width="wrap_content" android:layout_height="wrap_content" android:text="项目" android:layout_margin="10dp"/>
  <Button android:id="@+id/task" android:layout_width="wrap_content" android:layout_height="wrap_content" android:text="任务" android:layout_margin="50dp"/>
</RelativeLayout>
查看效果如下:
今天的文章详解 layout_marginTop 与 layout_marginBottom分享到此就结束了,感谢您的阅读。
版权声明:本文内容由互联网用户自发贡献,该文观点仅代表作者本人。本站仅提供信息存储空间服务,不拥有所有权,不承担相关法律责任。如发现本站有涉嫌侵权/违法违规的内容, 请发送邮件至 举报,一经查实,本站将立刻删除。
如需转载请保留出处:https://bianchenghao.cn/8298.html

