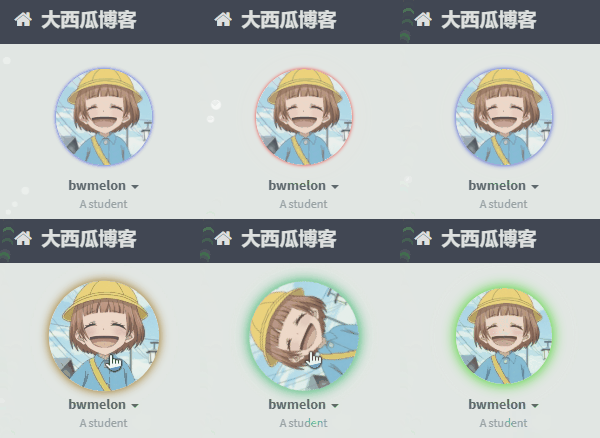
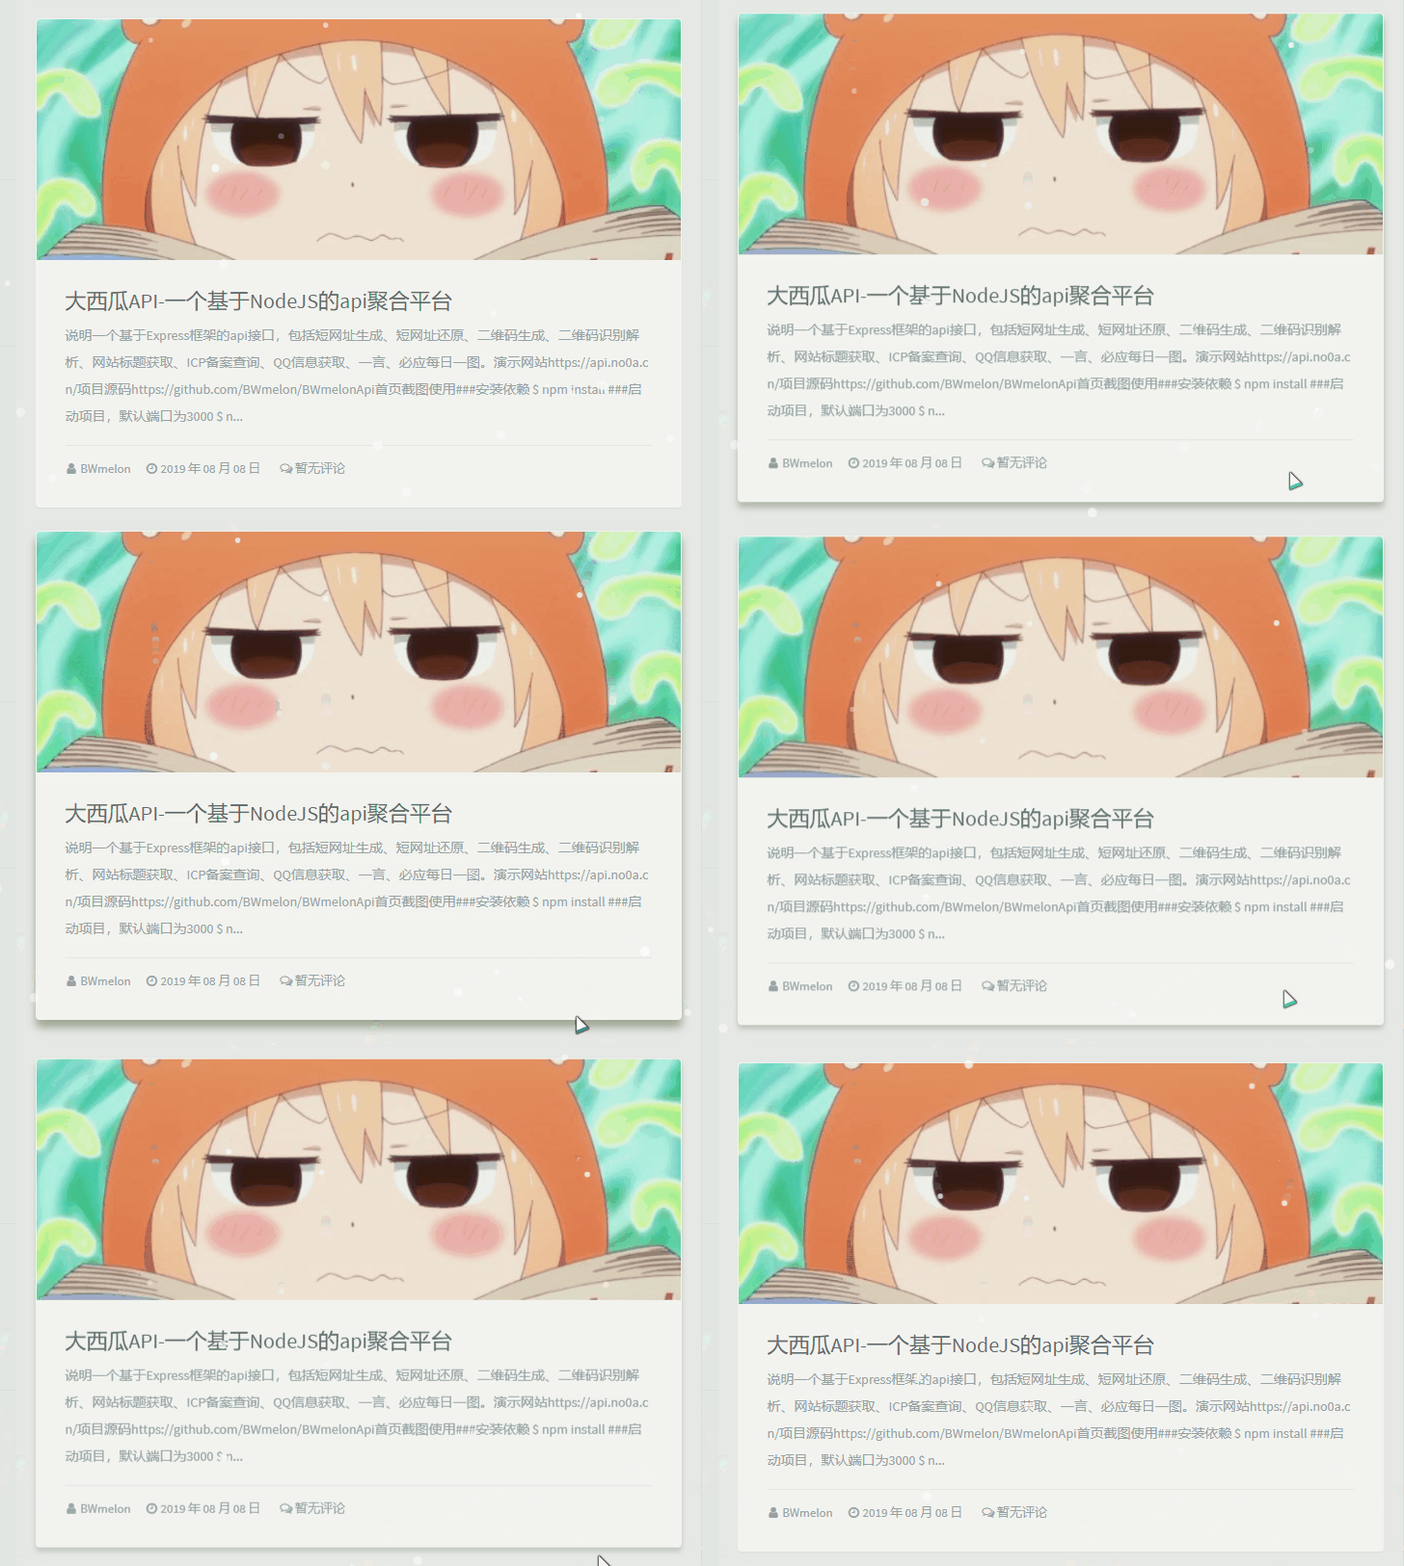
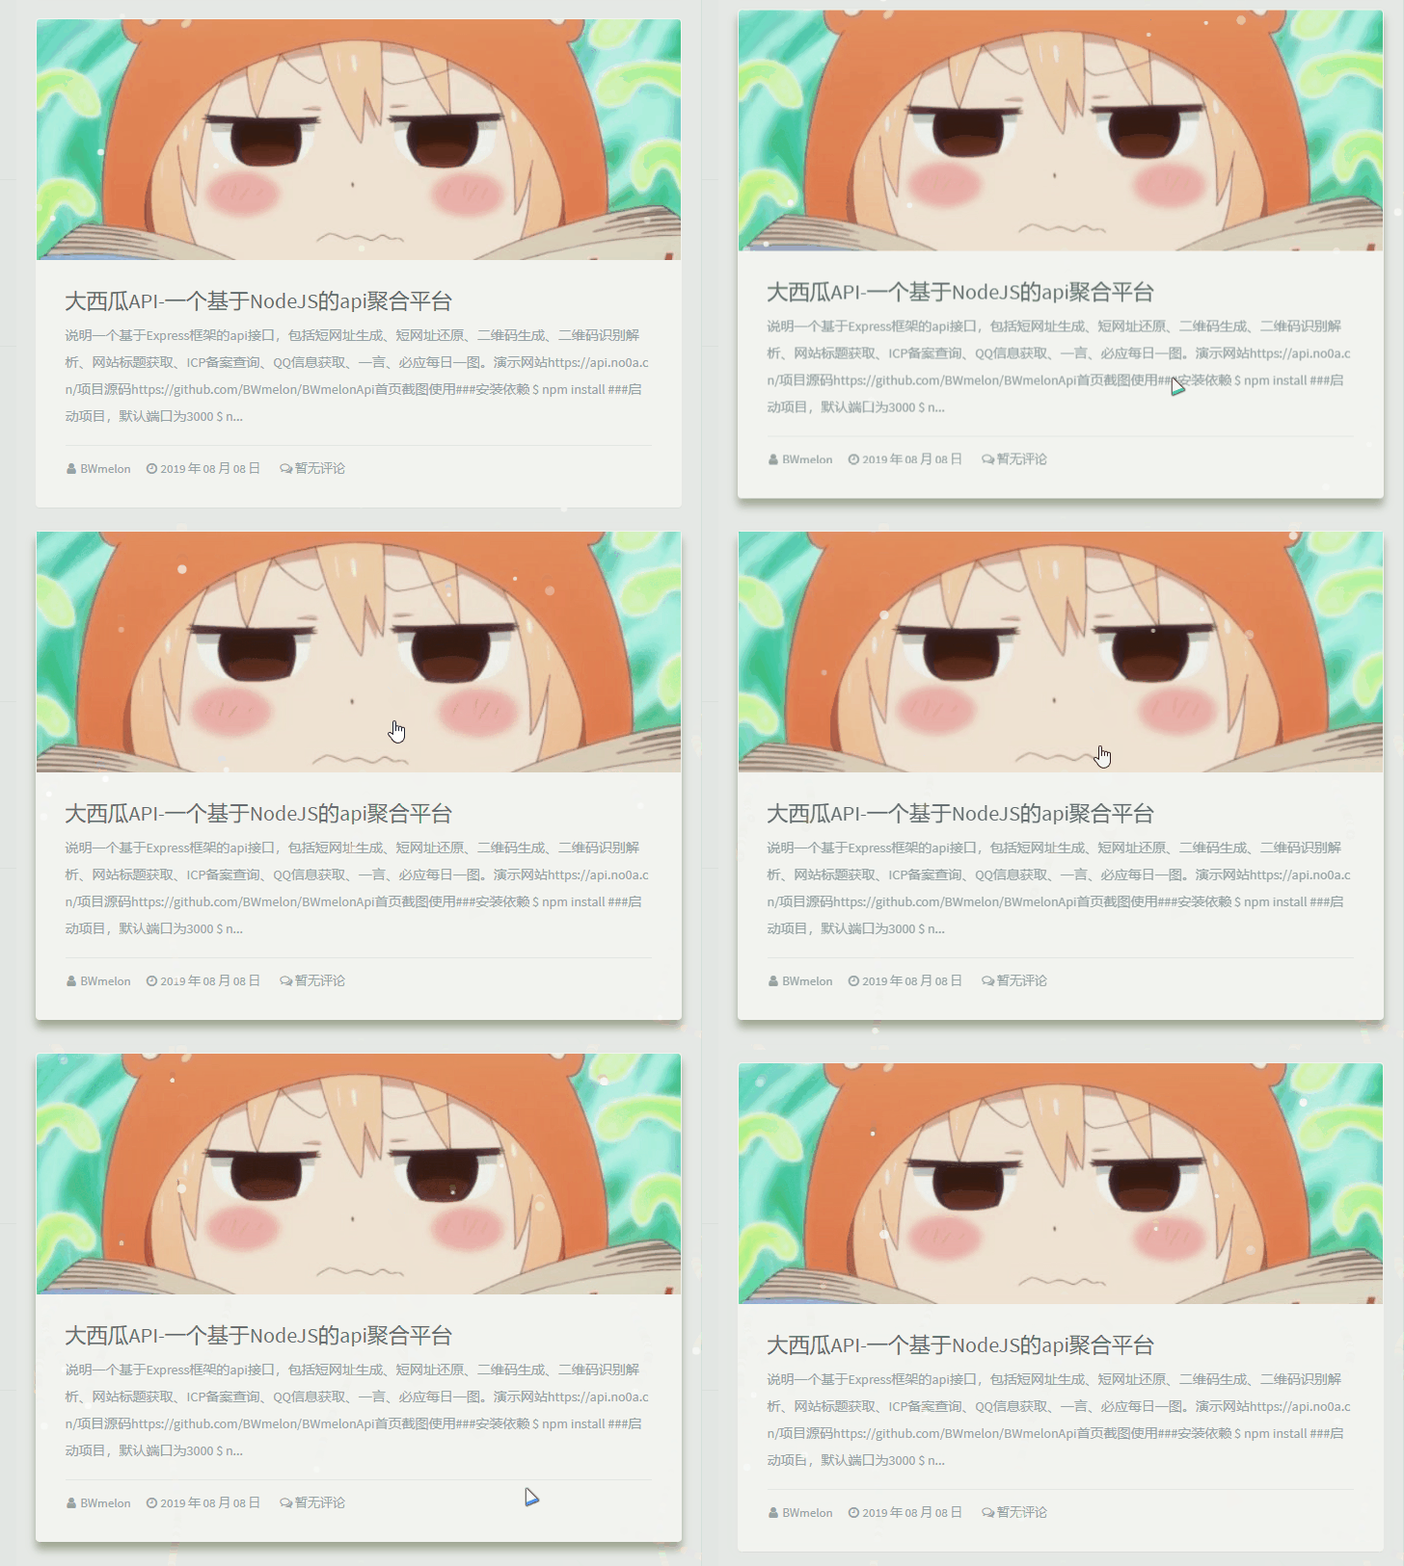
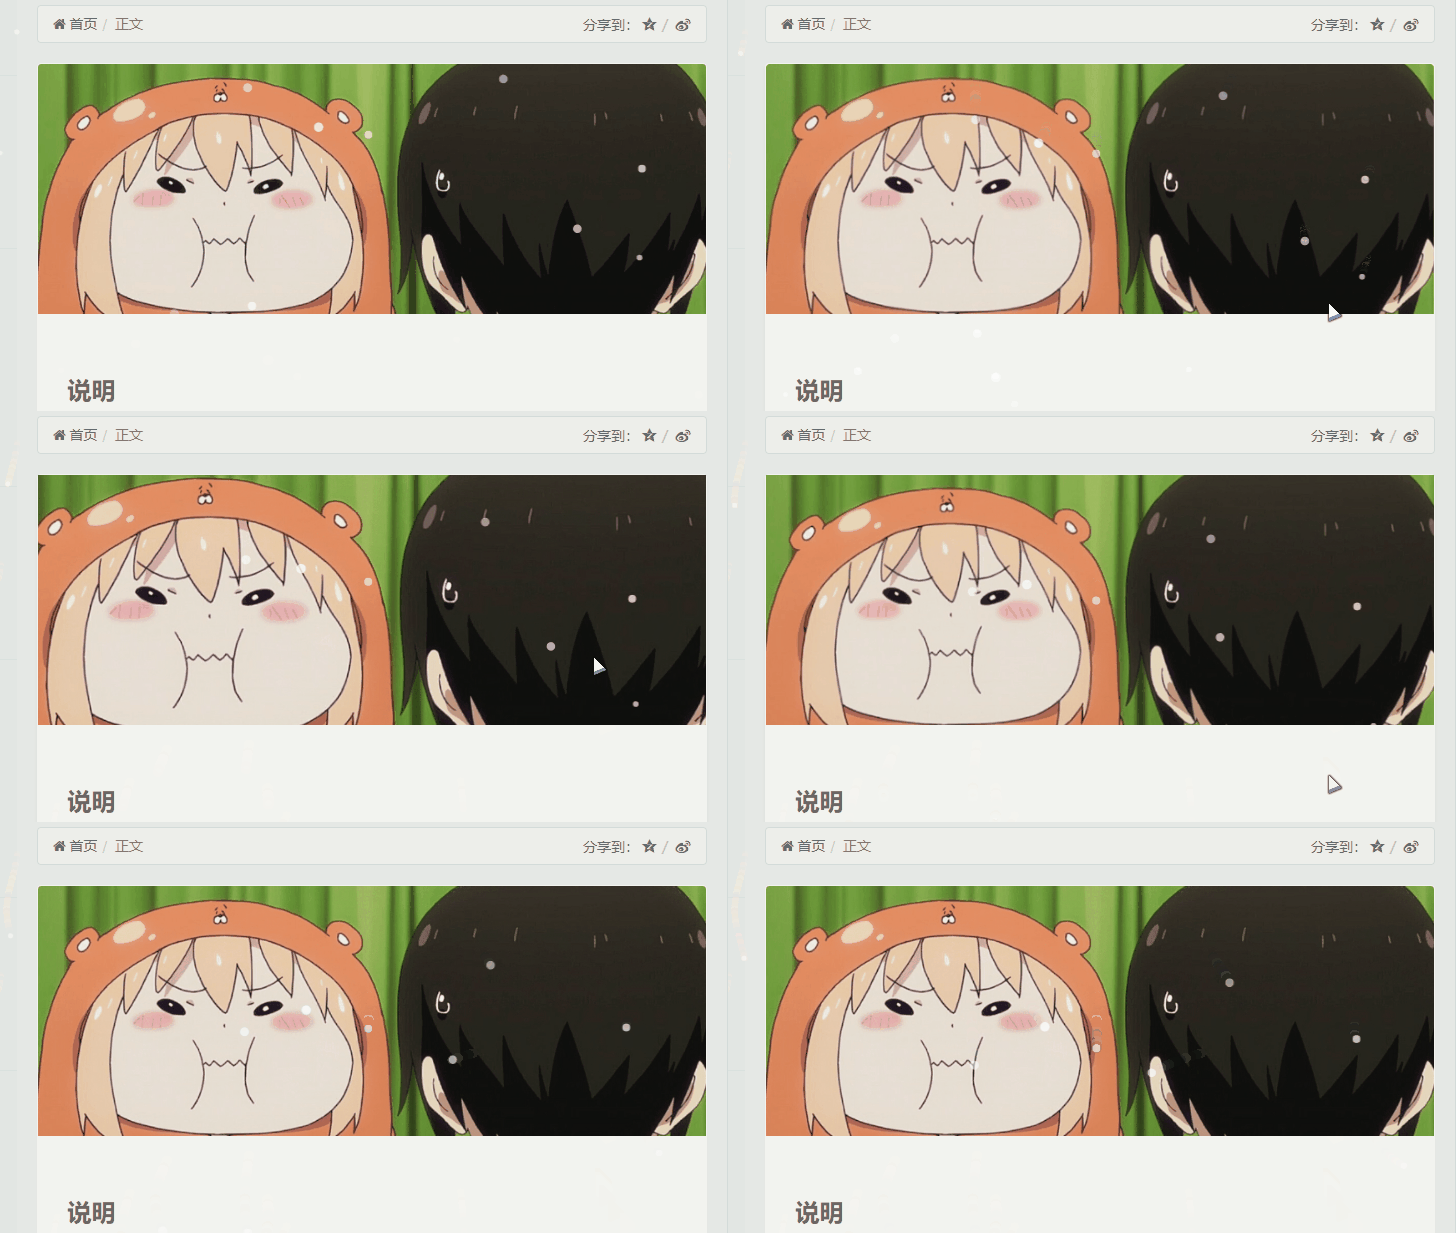
用了handsome主题有一段时间了,今天对主题进行了一些修改,修改完成后几乎看不出主题被修改了,因为只是添加了一些鼠标悬停样式,感觉白忙活了。
目前已对最新版本6.0进行修改,其他版本部分样式会失效
为了减少对源码的修改,本次美化大多数可以直接在后台开发者设置-自定义css中添加代码即可。
1. 头像呼吸光环和鼠标悬停旋转放大
.img-full {

    width: 100px;
    border-radius: 50%;
    animation: light 4s ease-in-out infinite;
    transition: 0.5s;
}

.vertical-avatar img:hover {

    transform: scale(1.15) rotate(720deg);
}

@keyframes light {

    0% {

        box-shadow: 0 0 4px #f00;
    }

    25% {

        box-shadow: 0 0 16px #0f0;
    }

    50% {

        box-shadow: 0 0 4px #00f;
    }

    75% {

        box-shadow: 0 0 16px #0f0;
    }

    100% {

        box-shadow: 0 0 4px #f00;
    }
}
如果只需要单色呼吸光环,例如红色,可以将关键帧动画改为:
@keyframes light {

    from {

        box-shadow: 0 0 4px #f00;
    }

    to {

        box-shadow: 0 0 16px #f00;
    }
}
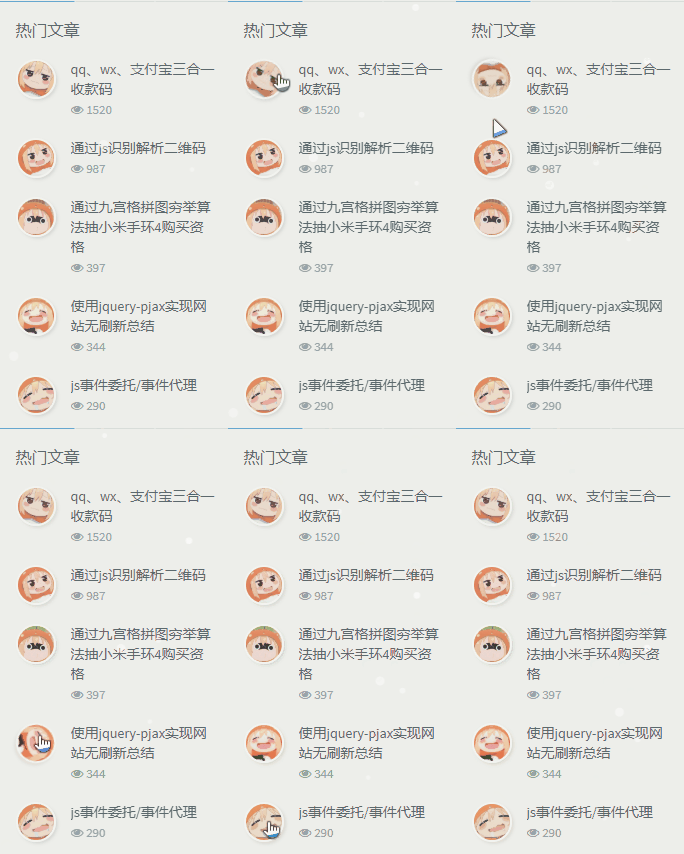
2. 左侧文章图标和评论头像圆角化鼠标悬停旋转
.img-square {

    transition: all 0.3s;
    border-radius: 50%;
}

.img-square:hover {

    transform: rotate(360deg);
}
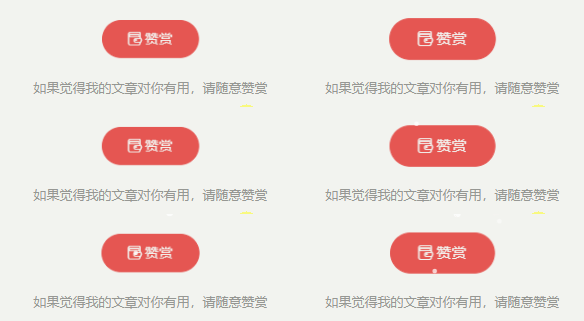
3. 文章内打赏图标跳动
.btn-pay {

    animation: star 0.5s ease-in-out infinite alternate;
}

@keyframes star {

    from {

        transform: scale(1);
    }

    to {

        transform: scale(1.1);
    }
}
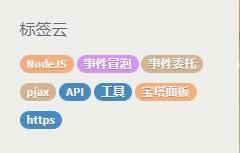
4. 彩色标签云
之前看过一个彩色标签云的插件,这里用js为标签随机添加上预先定义的颜色,每次刷新都会进行换色:
let tags = document.querySelectorAll("#tag_cloud-2 a");
let colorArr = ["#428BCA", "#AEDCAE", "#ECA9A7", "#DA99FF", "#FFB380", "#D9B999"];
tags.forEach(tag => {

    tagsColor = colorArr[Math.floor(Math.random() * colorArr.length)];
    tag.style.backgroundColor = tagsColor;
});
如果主题中启用了pjax,还需要将上面代码添加到pjax-pjax回调函数中。
5. 首页文章列表悬停上浮
.blog-post .panel-small:not(article), .blog-post .panel:not(article) {

    transition: all 0.3s;
}

.blog-post .panel-small:not(article):hover, .blog-post .panel:not(article):hover {

    transform: translateY(-10px);
    box-shadow: 0 8px 10px rgba(73, 90, 47, 0.47);
}
/* 2019/11/20更新 兼容大/小头图模式和交错模式 */
6. 首页文章列表头图悬停放大并将超出范围隐藏
.index-post-img {

    overflow: hidden;
}

.item-thumb, .item-thumb-small {

    transition: all 0.3s;
}

.item-thumb:hover, .item-thumb-small:hover {

    transform: scale(1.1)
}
/* 2019/11/20更新 兼容大/小头图模式和交错模式 */
7. 文章内头图和文章图片悬停放大并将超出范围隐藏
.entry-thumbnail {

    overflow: hidden;
}

#post-content img {

    border-radius: 10px;
    transition: 0.5s;
}

#post-content img:hover {

    transform: scale(1.05);
}
8、首页文章版式阴影化
本项修改的是首页文章版式,包括图片使其四周加上一层绚丽的阴影。将以下代码添加至后台主题设置 自定义CSS。
#阴影颜色修改rgba后面的值(别复制该行)
/*panel阴影*/
.panel{

   box-shadow: 1px 1px 5px 5px rgba(255, 112, 173, 0.35);
    -moz-box-shadow: 1px 1px 5px 5px rgba(255, 112, 173, 0.35);
}

.panel:hover{

    box-shadow: 1px 1px 5px 5px rgba(255, 112, 173, 0.35);
    -moz-box-shadow: 1px 1px 5px 5px rgba(255, 112, 173, 0.35);
}

.panel-small{

    box-shadow: 1px 1px 5px 5px rgba(255, 112, 173, 0.35);
    -moz-box-shadow: 1px 1px 5px 5px rgba(255, 112, 173, 0.35);
}

.panel-small:hover{

    box-shadow: 1px 1px 5px 5px rgba(255, 112, 173, 0.35);
    -moz-box-shadow: 1px 1px 5px 5px rgba(255, 112, 173, 0.35);
}

#如果也想使盒子四周也有阴影,加上以下代码 .app.container {

    box-shadow: 0 0 30px rgba(255, 112, 173, 0.35);
}
9、Typecho代码高亮插件Code Prettify
基于prismjs的代码语法高亮typecho插件,支持众多常见的代码语言高亮显示,共提供11种代码高亮风格自由切换,支持显示代码语言类型、行号,以及支持复制代码到剪切板功能
10、一键评论打卡功能
1.首先在后台–>设置外观–>开发者设置–>自定义JavaScript加入以下代码: PJAX回调函数也加入这个代码
function a(a, b, c) {

        if (document.selection) a.focus(), sel = document.selection.createRange(), c ? sel.text = b + sel.text + c : sel.text = b, a.focus();
        else if (a.selectionStart || "0" == a.selectionStart) {

            var l = a.selectionStart,
                m = a.selectionEnd,
                n = m;
            c ? a.value = a.value.substring(0, l) + b + a.value.substring(l, m) + c + a.value.substring(m, a.value.length) : a.value = a.value.substring(0, l) + b + a.value.substring(m, a.value.length);
            c ? n += b.length + c.length : n += b.length - m + l;
            l == m && c && (n -= c.length);
            a.focus();
            a.selectionStart = n;
            a.selectionEnd = n
        } else a.value += b + c, a.focus()
}
var b = (new Date).toLocaleTimeString(),
        c = document.getElementById("comment") || 0;
window.SIMPALED = {
   };
window.SIMPALED.Editor = {

    daka: function() {

        a(c, "滴!学生卡!打卡时间:" + b, ",请上车的乘客系好安全带~")
    },
    zan: function() {

        a(c, " 写得好好哟,我要给你生猴子!")
    },
    cai: function() {

        a(c, "骚年,我怀疑你写了一篇假的文章! ")
    }
};
2.打开主题目录的component/comments.php里面的126行到144行附近,修改为以下代码:
                    <div class="comment-form-comment form-group">
                        <label for="comment"><?php _me("评论") ?>
                            <span class="required text-danger">*</span></label>
                        <textarea id="comment" class="textarea form-control OwO-textarea" name="text" rows="5" placeholder="<?php _me("说点什么吧……") ?>" οnkeydοwn="if(event.ctrlKey&&event.keyCode==13){document.getElementById('submit').click();return false};"><?php $this->remember('text'); ?></textarea>
                        <div class="OwO" style="display: inline;"></div>
                                            <div class="OwO" title="打卡" style="display: inline;" onclick="javascript:SIMPALED.Editor.daka();this.style.display='none'"><div class="OwO-logo"><i class="fontello-pencil"></i><span class="OwOlogotext">打卡</span></div></div>
              <div class="OwO" title="赞" style="display: inline;" onclick="javascript:SIMPALED.Editor.zan();this.style.display='none'"><div class="OwO-logo"><i class="glyphicon glyphicon-thumbs-up"></i><span class="OwOlogotext"></span></div></div>
          <div class="OwO" title="踩" style="display: inline;" onclick="javascript:SIMPALED.Editor.cai();this.style.display='none'"><div class="OwO-logo"><i class="glyphicon glyphicon-thumbs-down"></i><span class="OwOlogotext"></span></div></div>
                        <div class="secret_comment" id="secret_comment" data-toggle="tooltip"
                        data-original-title="<?php _me("开启该功能,您的评论仅作者和评论双方可见") ?>">
                            <label class="secret_comment_label control-label"><?php _me("私密评论") ?></label>
                            <div class="secret_comment_check">
                                <label class="i-switch i-switch-sm bg-dark m-b-ss m-r">
                                    <input type="checkbox" id="secret_comment_checkbox">
                                    <i></i>
                                </label>
                            </div>
                        </div>
                    </div>
3.在后台–>设置外观–>开发者设置–>自定义CSS加入以下代码:
.secret_comment {

    top: 5px;
}
.OwO.OwO-open .OwO-body {

    display:table
}
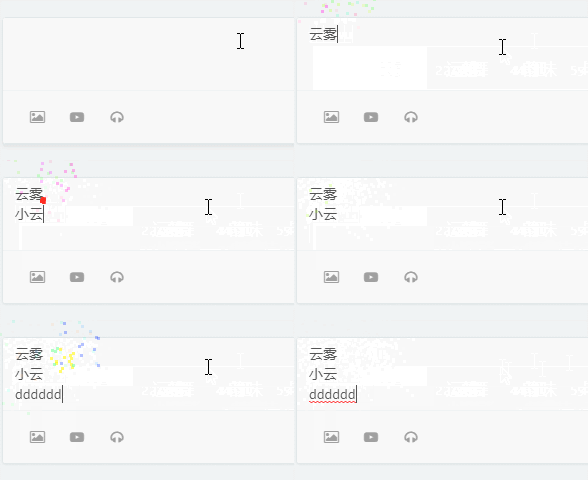
11、文本框打字机特效
复制下方代码添加至后台主题设置 – 开发者设置 – 自定义输出body 尾部的HTML代码 即可
<!--文本框打字机特效-->
<script type="text/javascript" src="https://lioeo.cn/usr/commentTyping.js"></script>
12、自定义鼠标样式
在这里以handsome主题为例:外观——主题设置——开发设置——自定义css。
插入以下代码:
body {

    cursor:url('http://like.gmkh.top/css/光标/S1.cur'), auto;
}
select, input, textarea, a, button {

    cursor:url('http://like.gmkh.top/css/光标/S2.cur'), auto;
}
input[disabled], select[disabled], textarea[disabled], input[readonly], select[readonly] {

    cursor:url('http://like.gmkh.top/css/光标/S1.cur'), auto;
}
13、Typecho悬挂猫咪置顶插件
下载插件解压 GoTop-master.zip

重命名文件夹为GoTop

上传至usr/plugins目录

登录后台启用即可
更新日志
1.0.0 项目完成

1.1.0 修复打开站点默认下拉的问题

1.2.0 增加动态效果
今天的文章handsome美化教程_handsome模板分享到此就结束了,感谢您的阅读。
版权声明:本文内容由互联网用户自发贡献,该文观点仅代表作者本人。本站仅提供信息存储空间服务,不拥有所有权,不承担相关法律责任。如发现本站有涉嫌侵权/违法违规的内容, 请发送邮件至 举报,一经查实,本站将立刻删除。
如需转载请保留出处:https://bianchenghao.cn/67022.html

